I have this office chair that my mum once bought for me. A professional office chair that wasn’t cheap (around 400€) and should be quite resilient to constant use. 7 years later, the mechanical parts are still OK.. The seat fabric and the cushion underneath.. Not so much. Something had to be done, therefore I dismantled the chair to take a closer look at the damage. Instead of being stapled to a piece of plywood, the foam cushion was foamed directly into a plastic frame. Which, after 7 years of usage, had already cracked in some places and even pieces broken off. Research with the manufacturer confirmed my hope that I COULD simply order a new seat cushion that matches my current fabric. But the price made me (figuratively speaking of course.. I can hold in my fluids just well) spit out my coffee.. They wanted 120€ for a new seat! That’s when I decided that I would have to upholster the seat myself. Which presented a good opportunity to change the fabric of the back rest as well… Never liked that fabric, since it is basically uncleanable – everything gets stuck in it. Having decided to upholster the office chair myself, I bought a new visitors chair as well.. So I could upholster them to match.
Upholstery Research and Materials
So I never upholstered anything before. But I am a good googler (is that a thing?) and a firm believer in reverse engineering. First stop: Youtube! The video platform has an incredible amount of tutorial videos for every topic. Even upholstery. After watching about 20 videos, I had a pretty good idea of what tools I would need.
- A manual staple gun – My father already has a very good one. I would not advise you to buy an electric one.. The consumer products are not made to handle a lot of stapling and might die an early death.
- Staples that are compatible with your staple gun, match the length of the staple legs with the material you want to staple into.
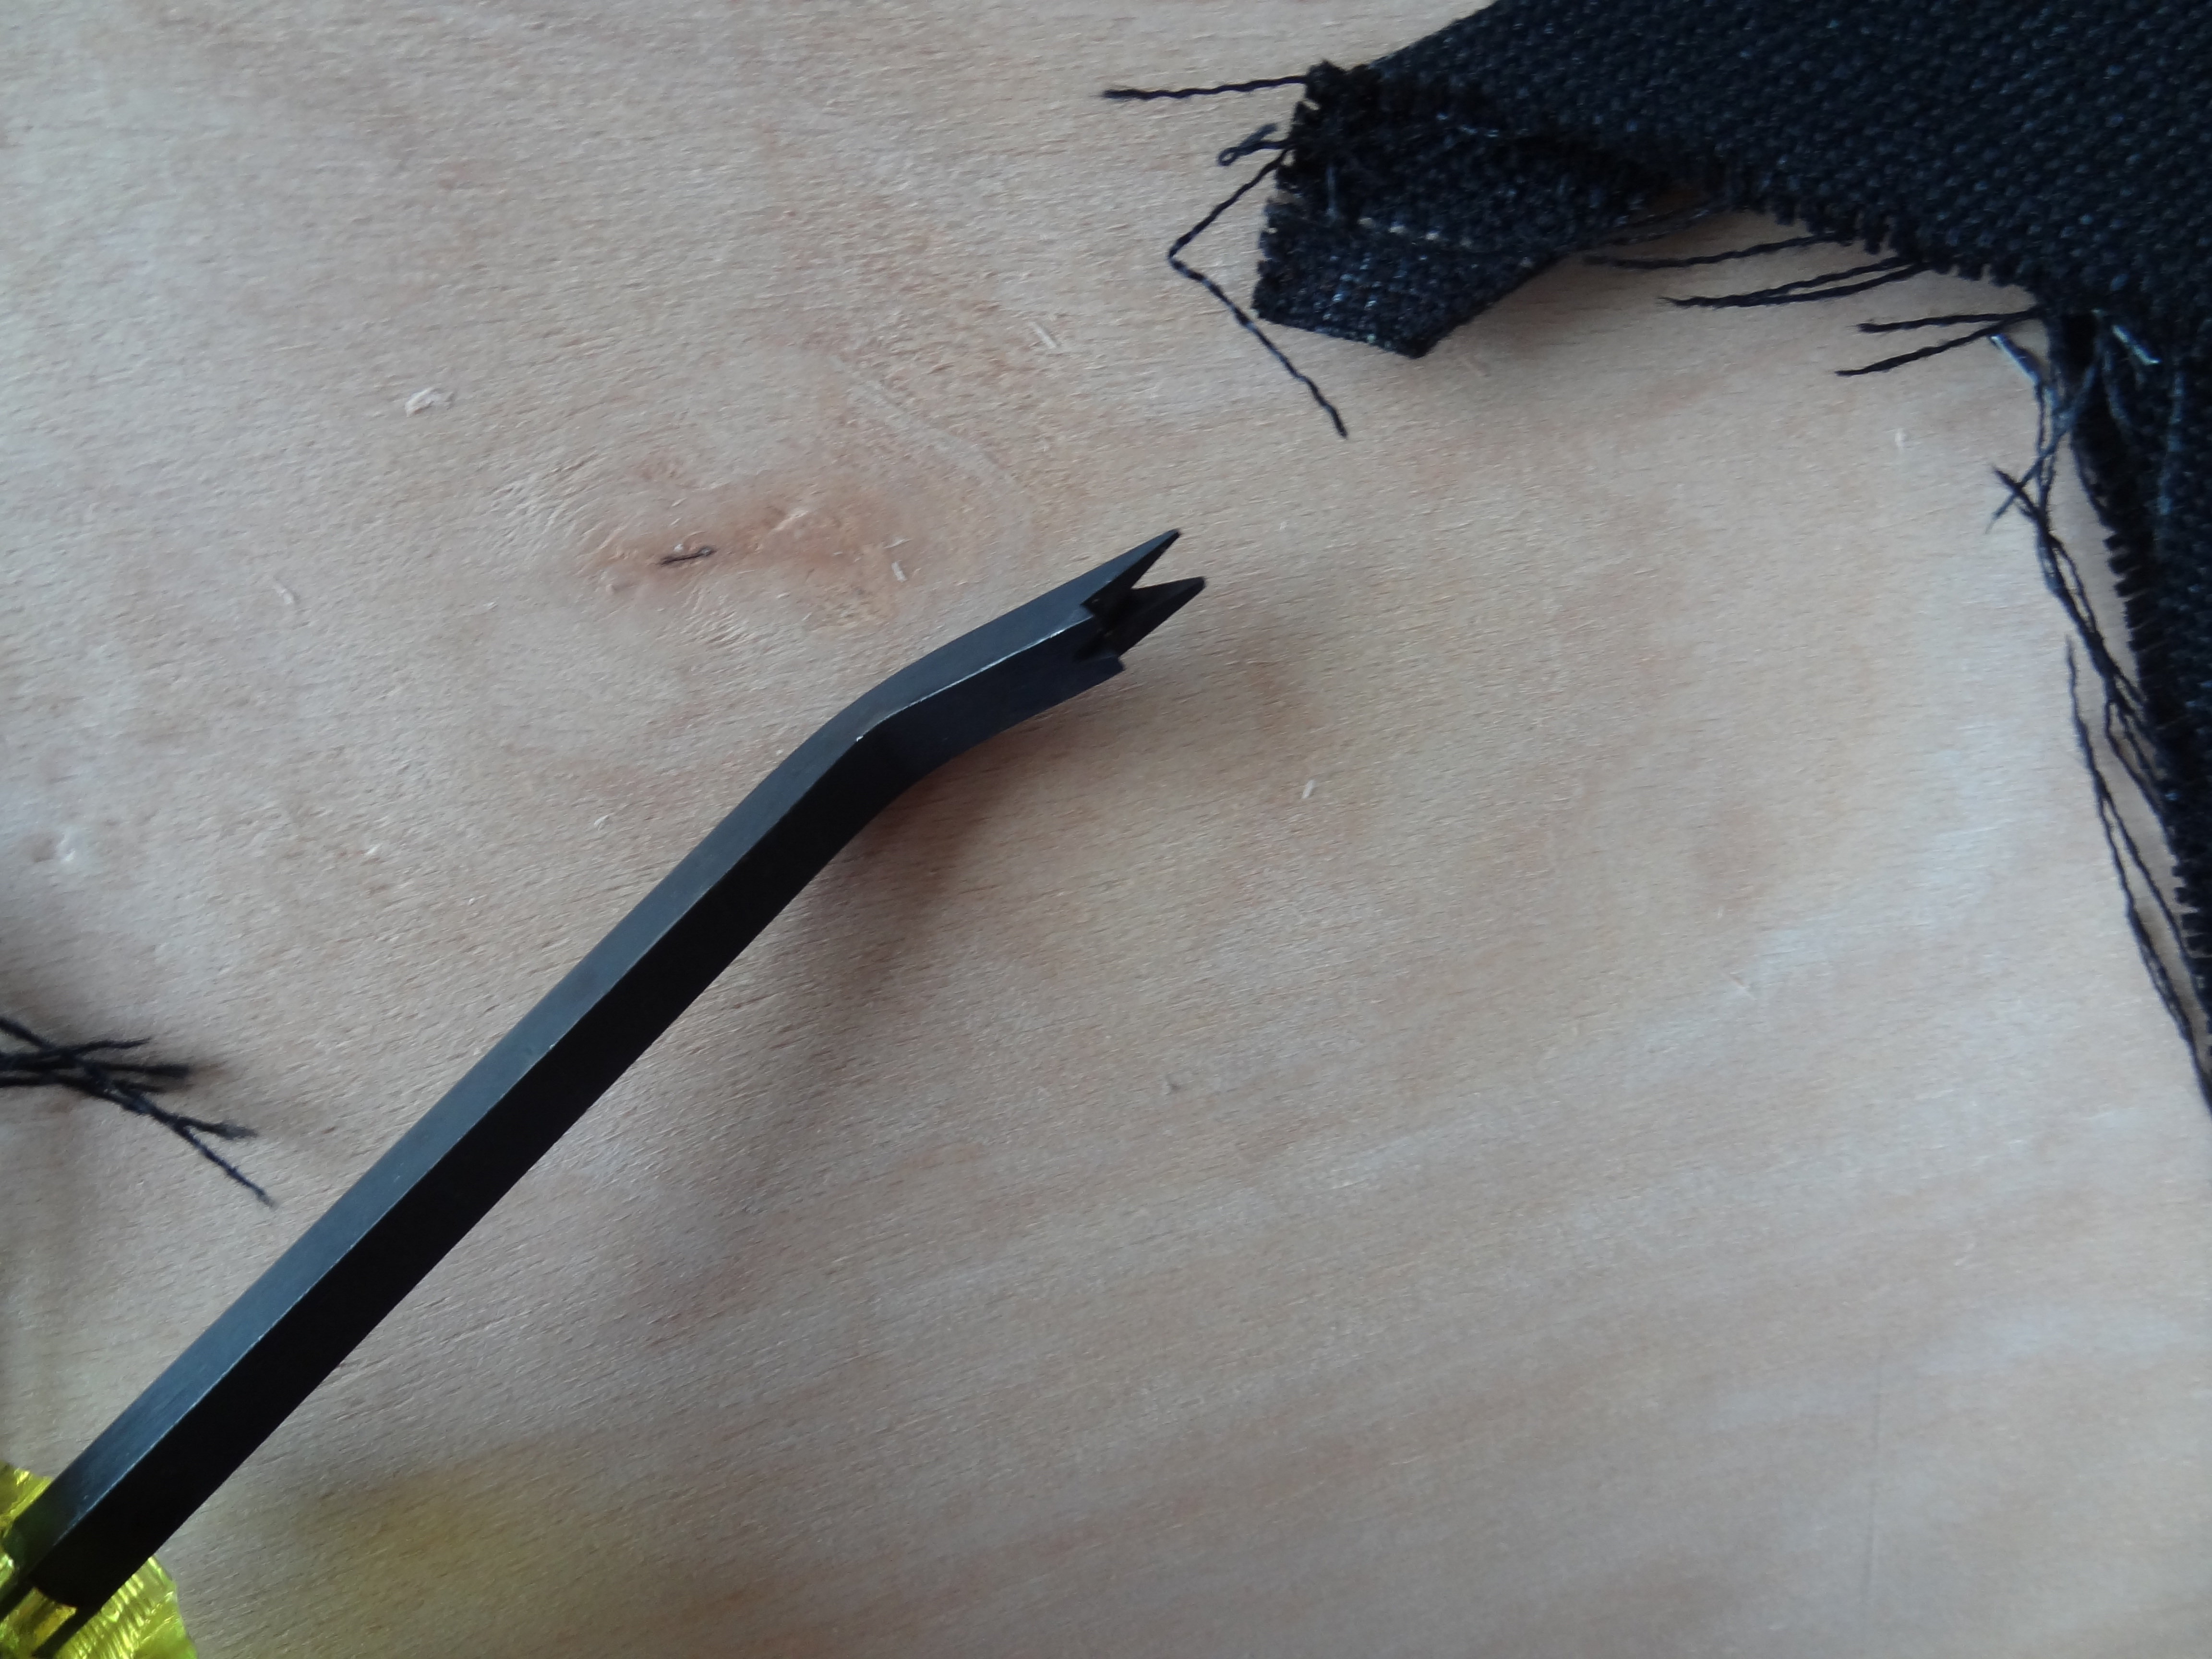
- Something to loosen/lift the old staples – I bought this tool.
- A pair of combination pliers to pull out the legs of the staples, since a lot of them might break off during loosening.
- Fabric Scissors – I already have one that can handle almost any fabric I feed her.
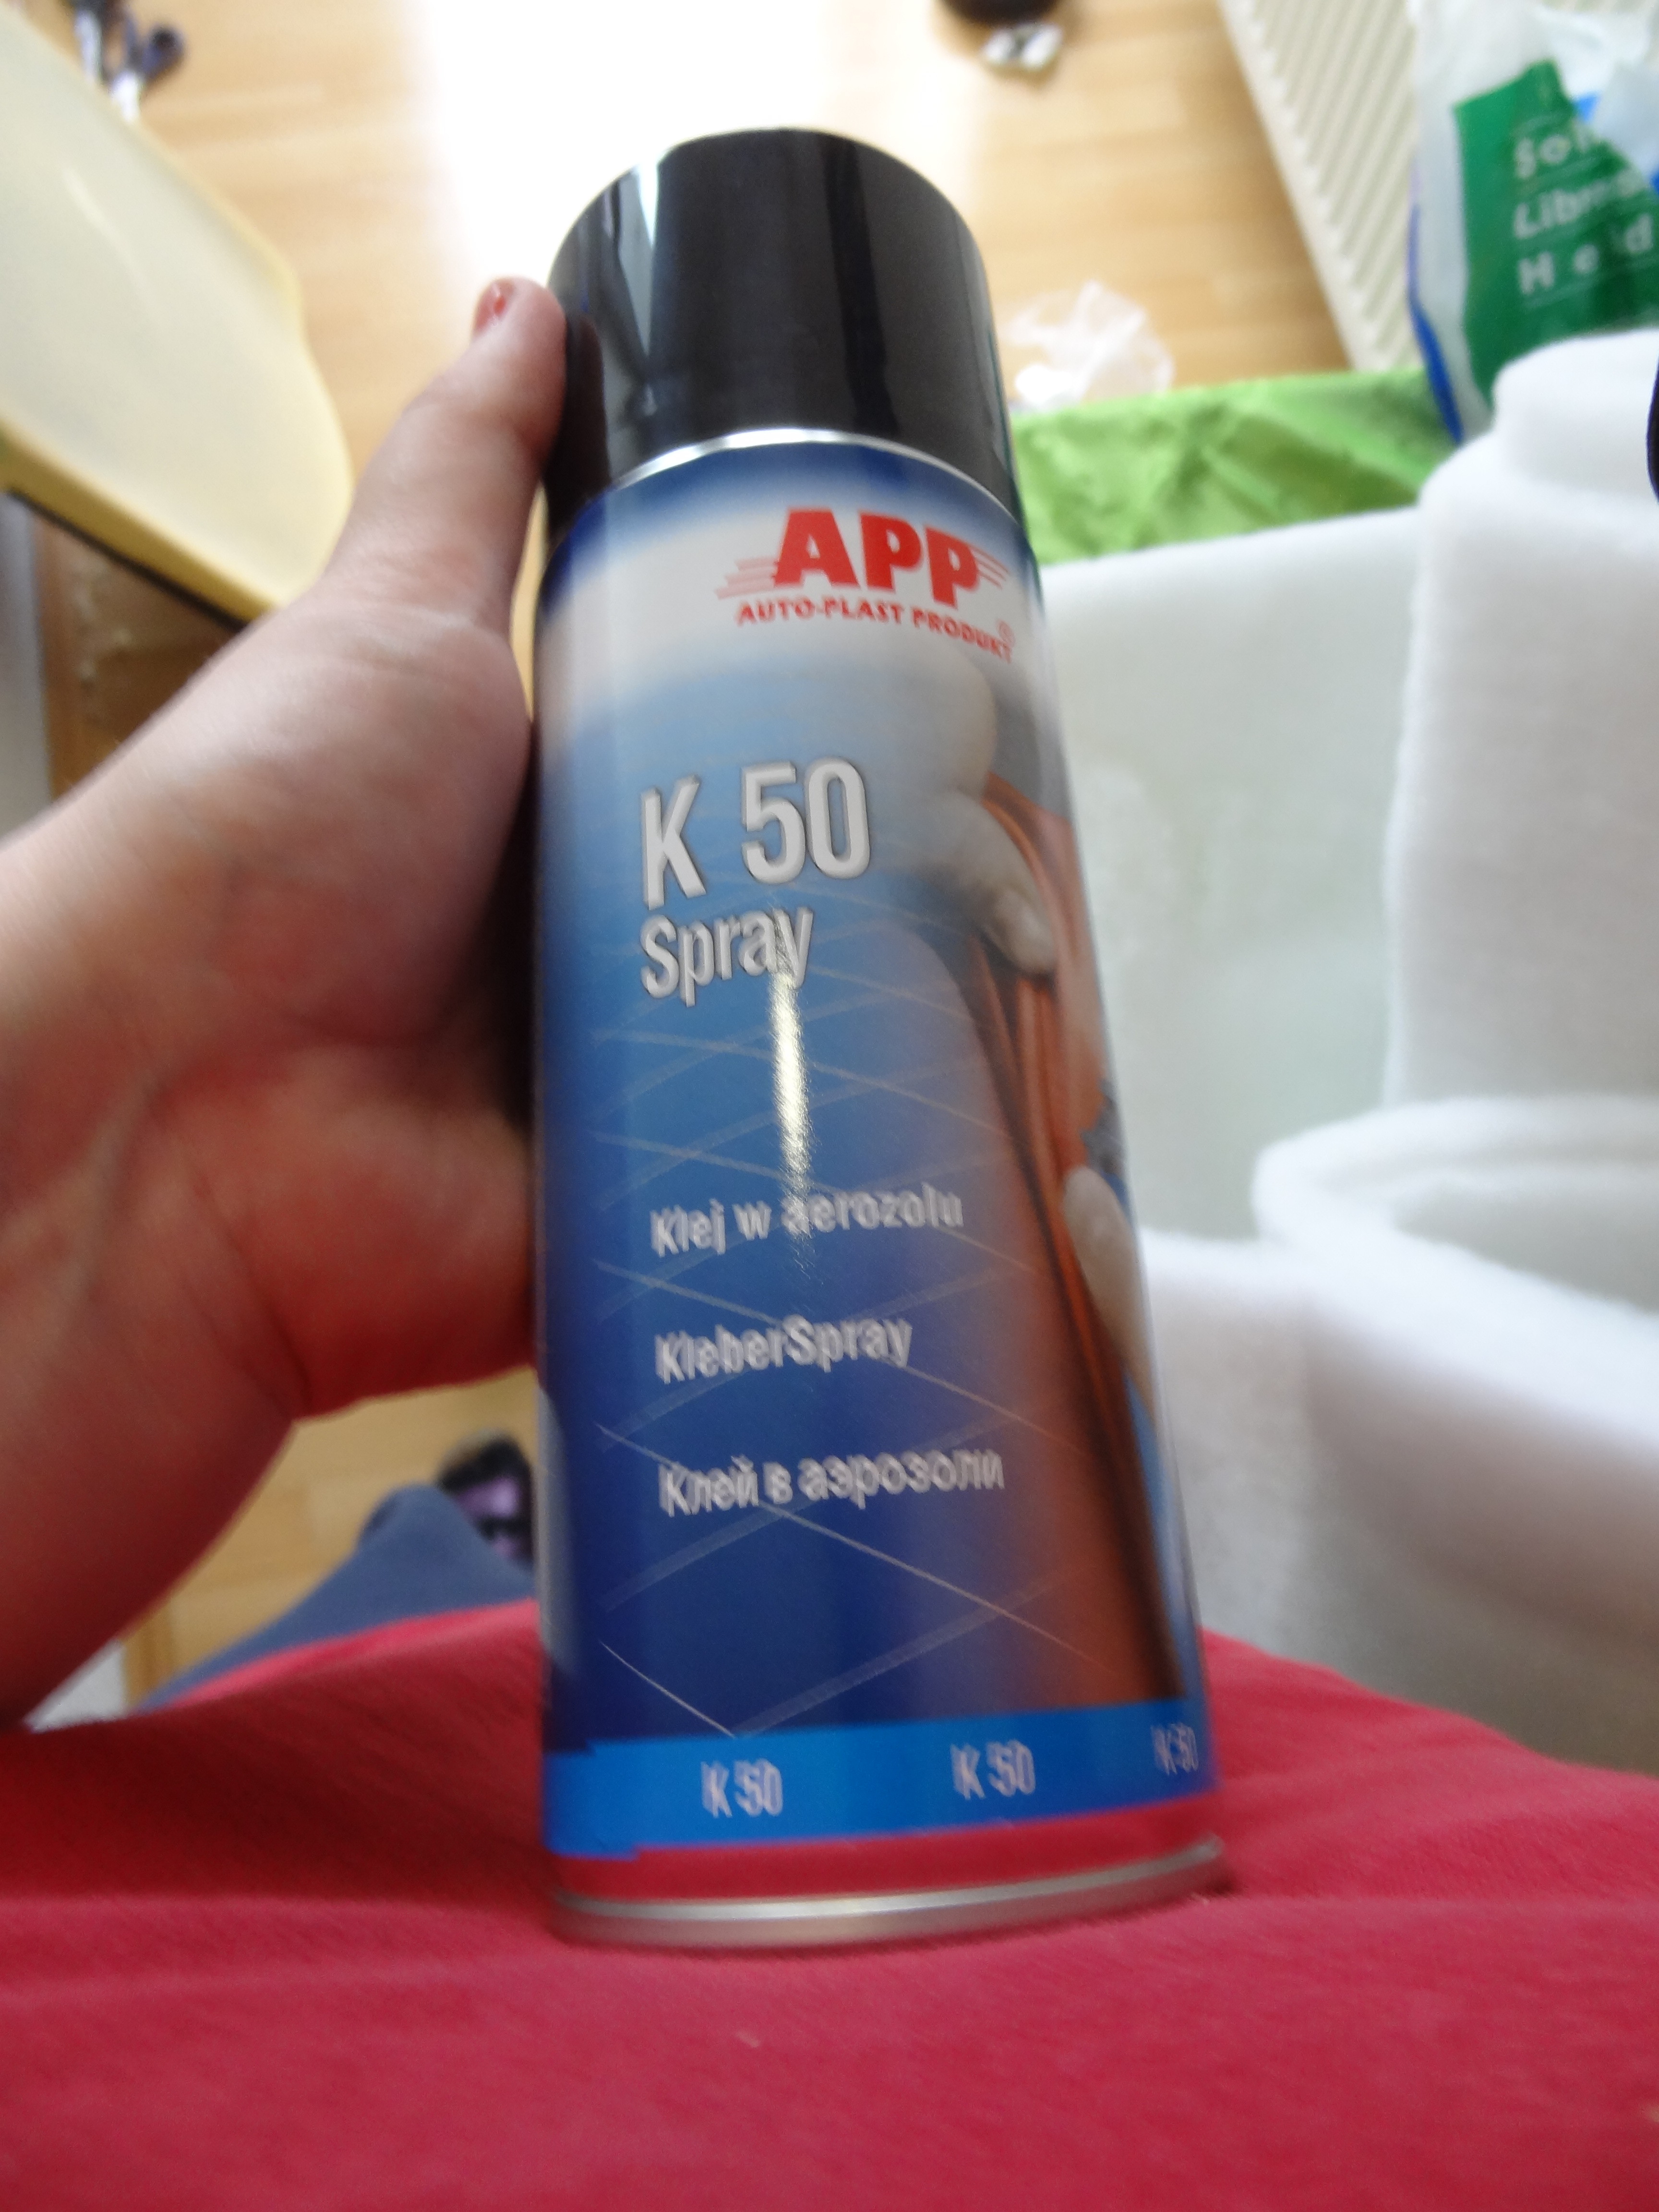
- Spray Adhesive – to keep cushion from moving around while you staple on the fabric
These are the basic tools you will need. Of course it all depends on what you will need to do. I selected the fabrics I wanted first, a combination of those two:
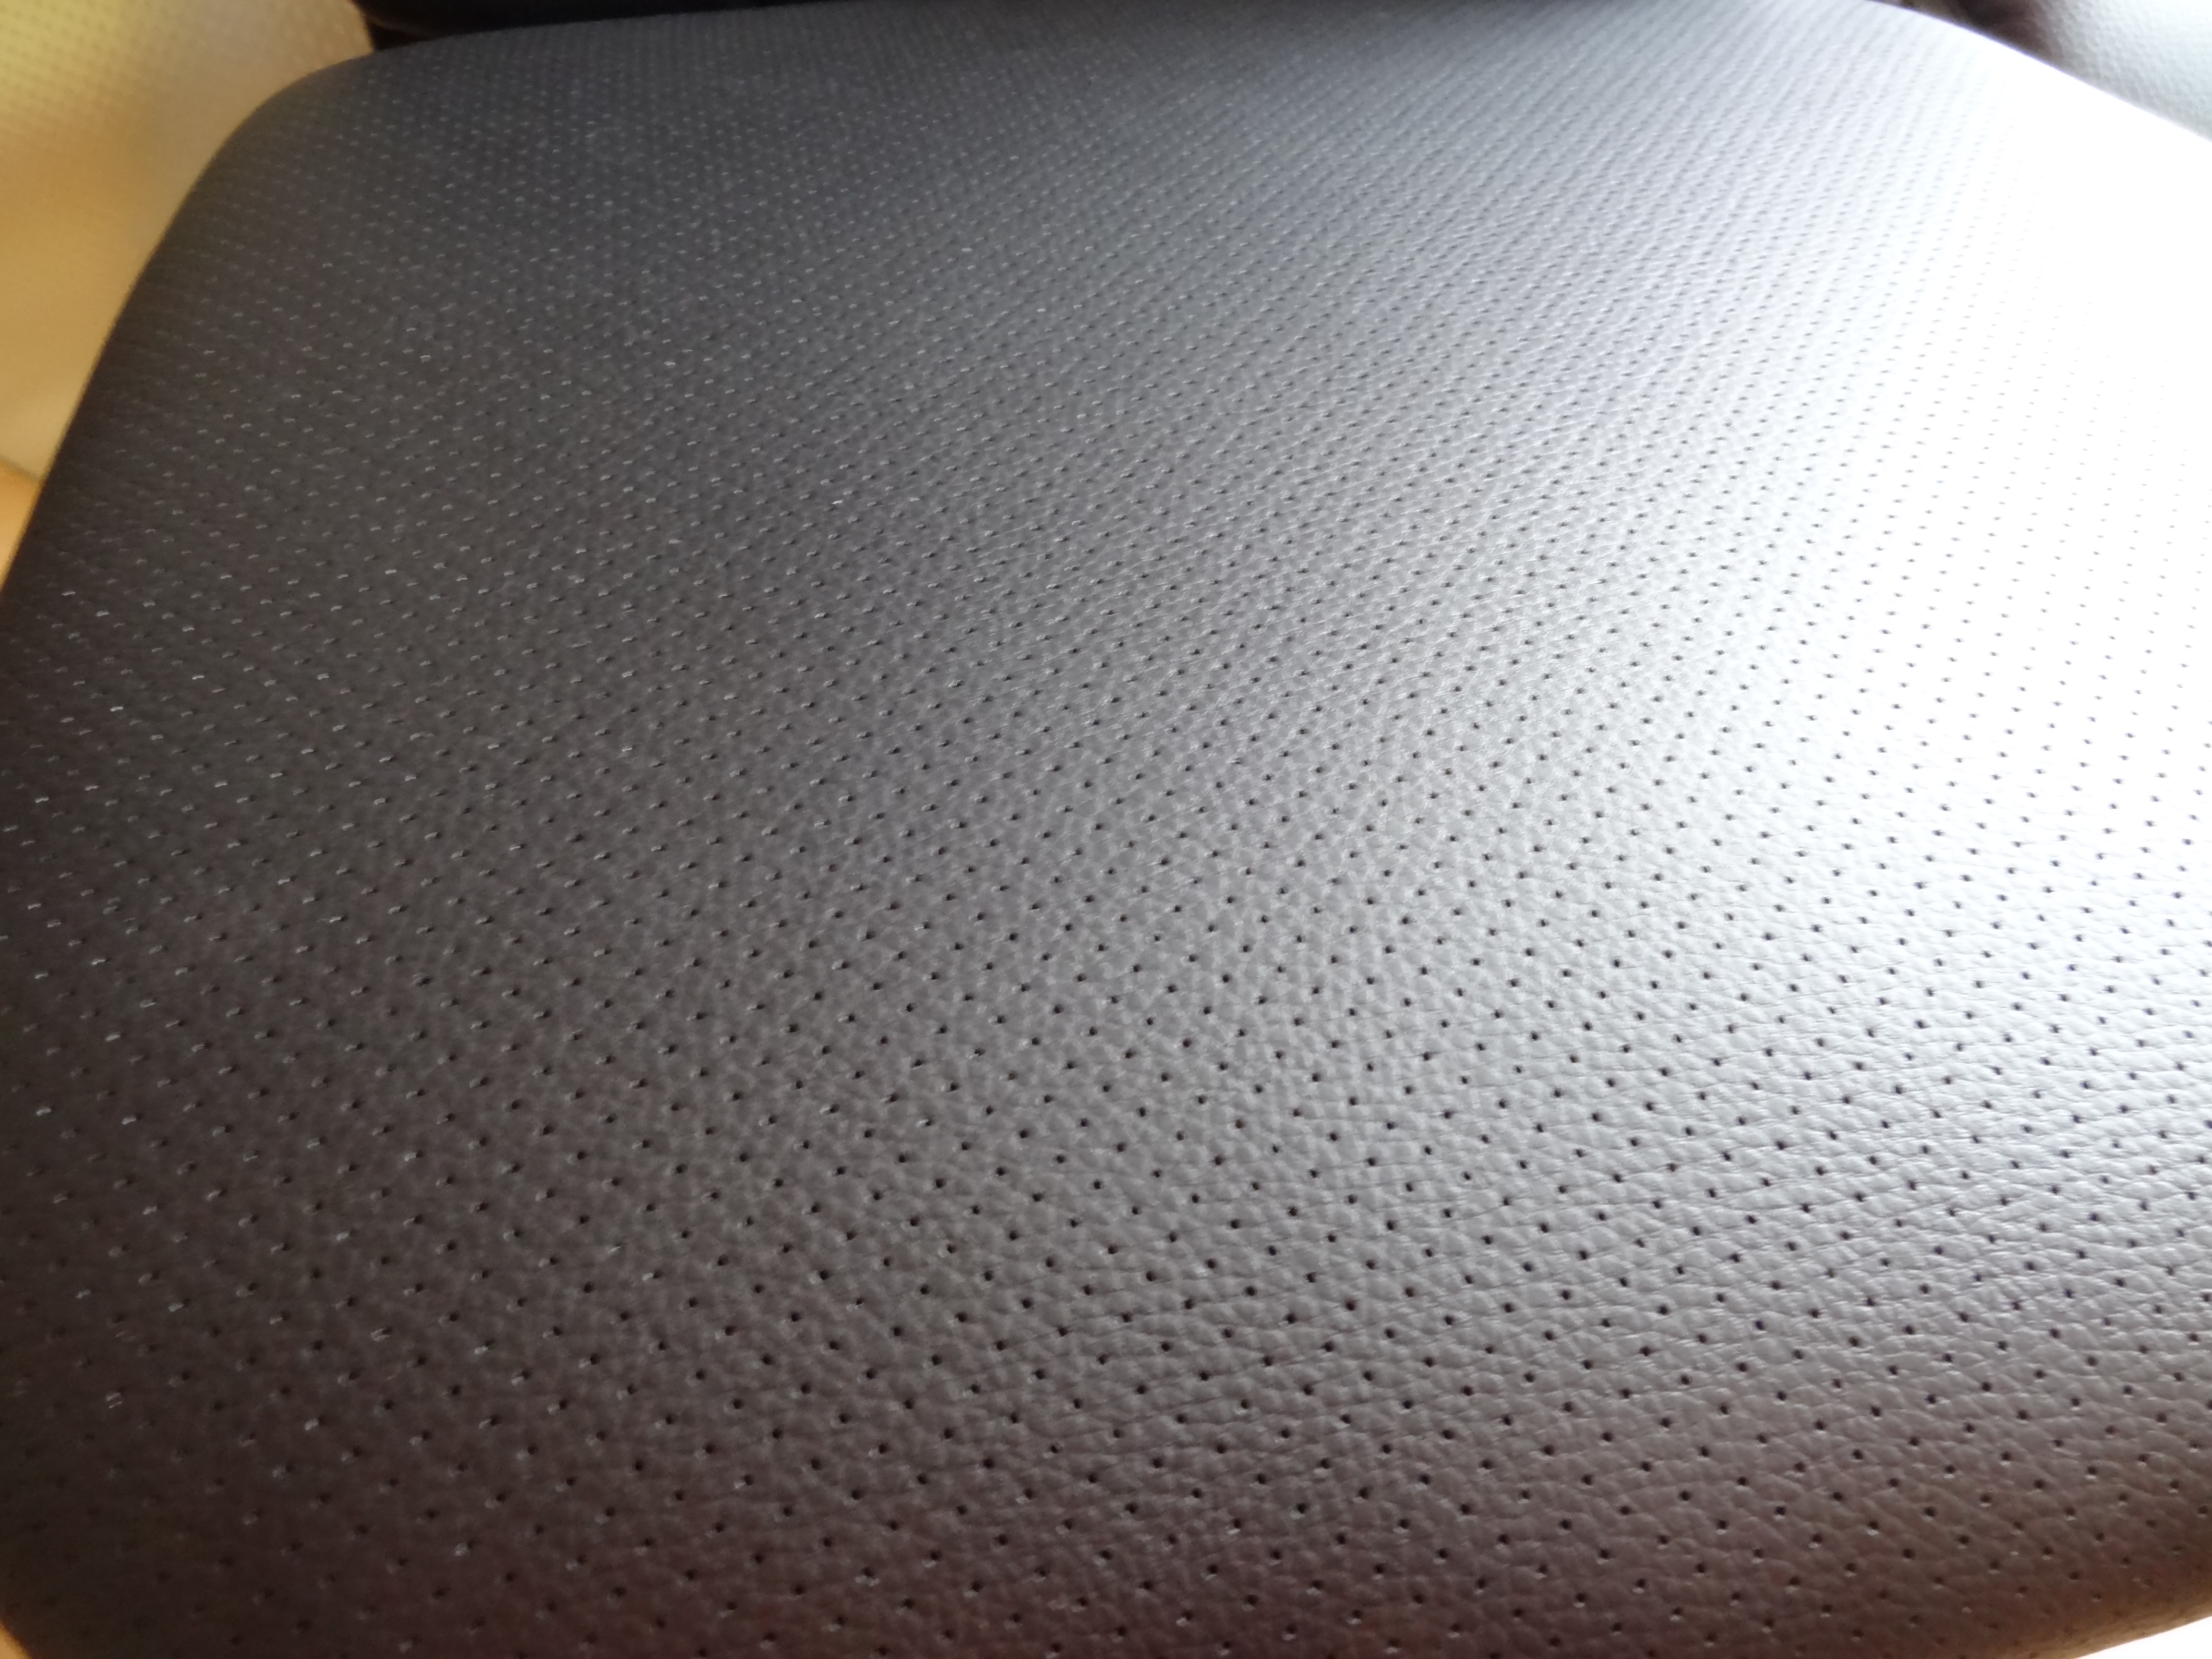
Faux Leather, perforated and coated fabric in black
Faux Leather, non-combustible in black
And then some wadding, to line the actual foam cushion
First steps
Before you can start to staple the new fabric on, you have to get the old one off. This might be easy or a little harder, depends on whether a moron did the original work or not. .. I’ll show you the difference:

So here are the seats and the back rests, waiting to get stripped of the old fabrics. To the right is my expensive office chair, the left one shows the stapling of the cheaper visitors‘ chair.
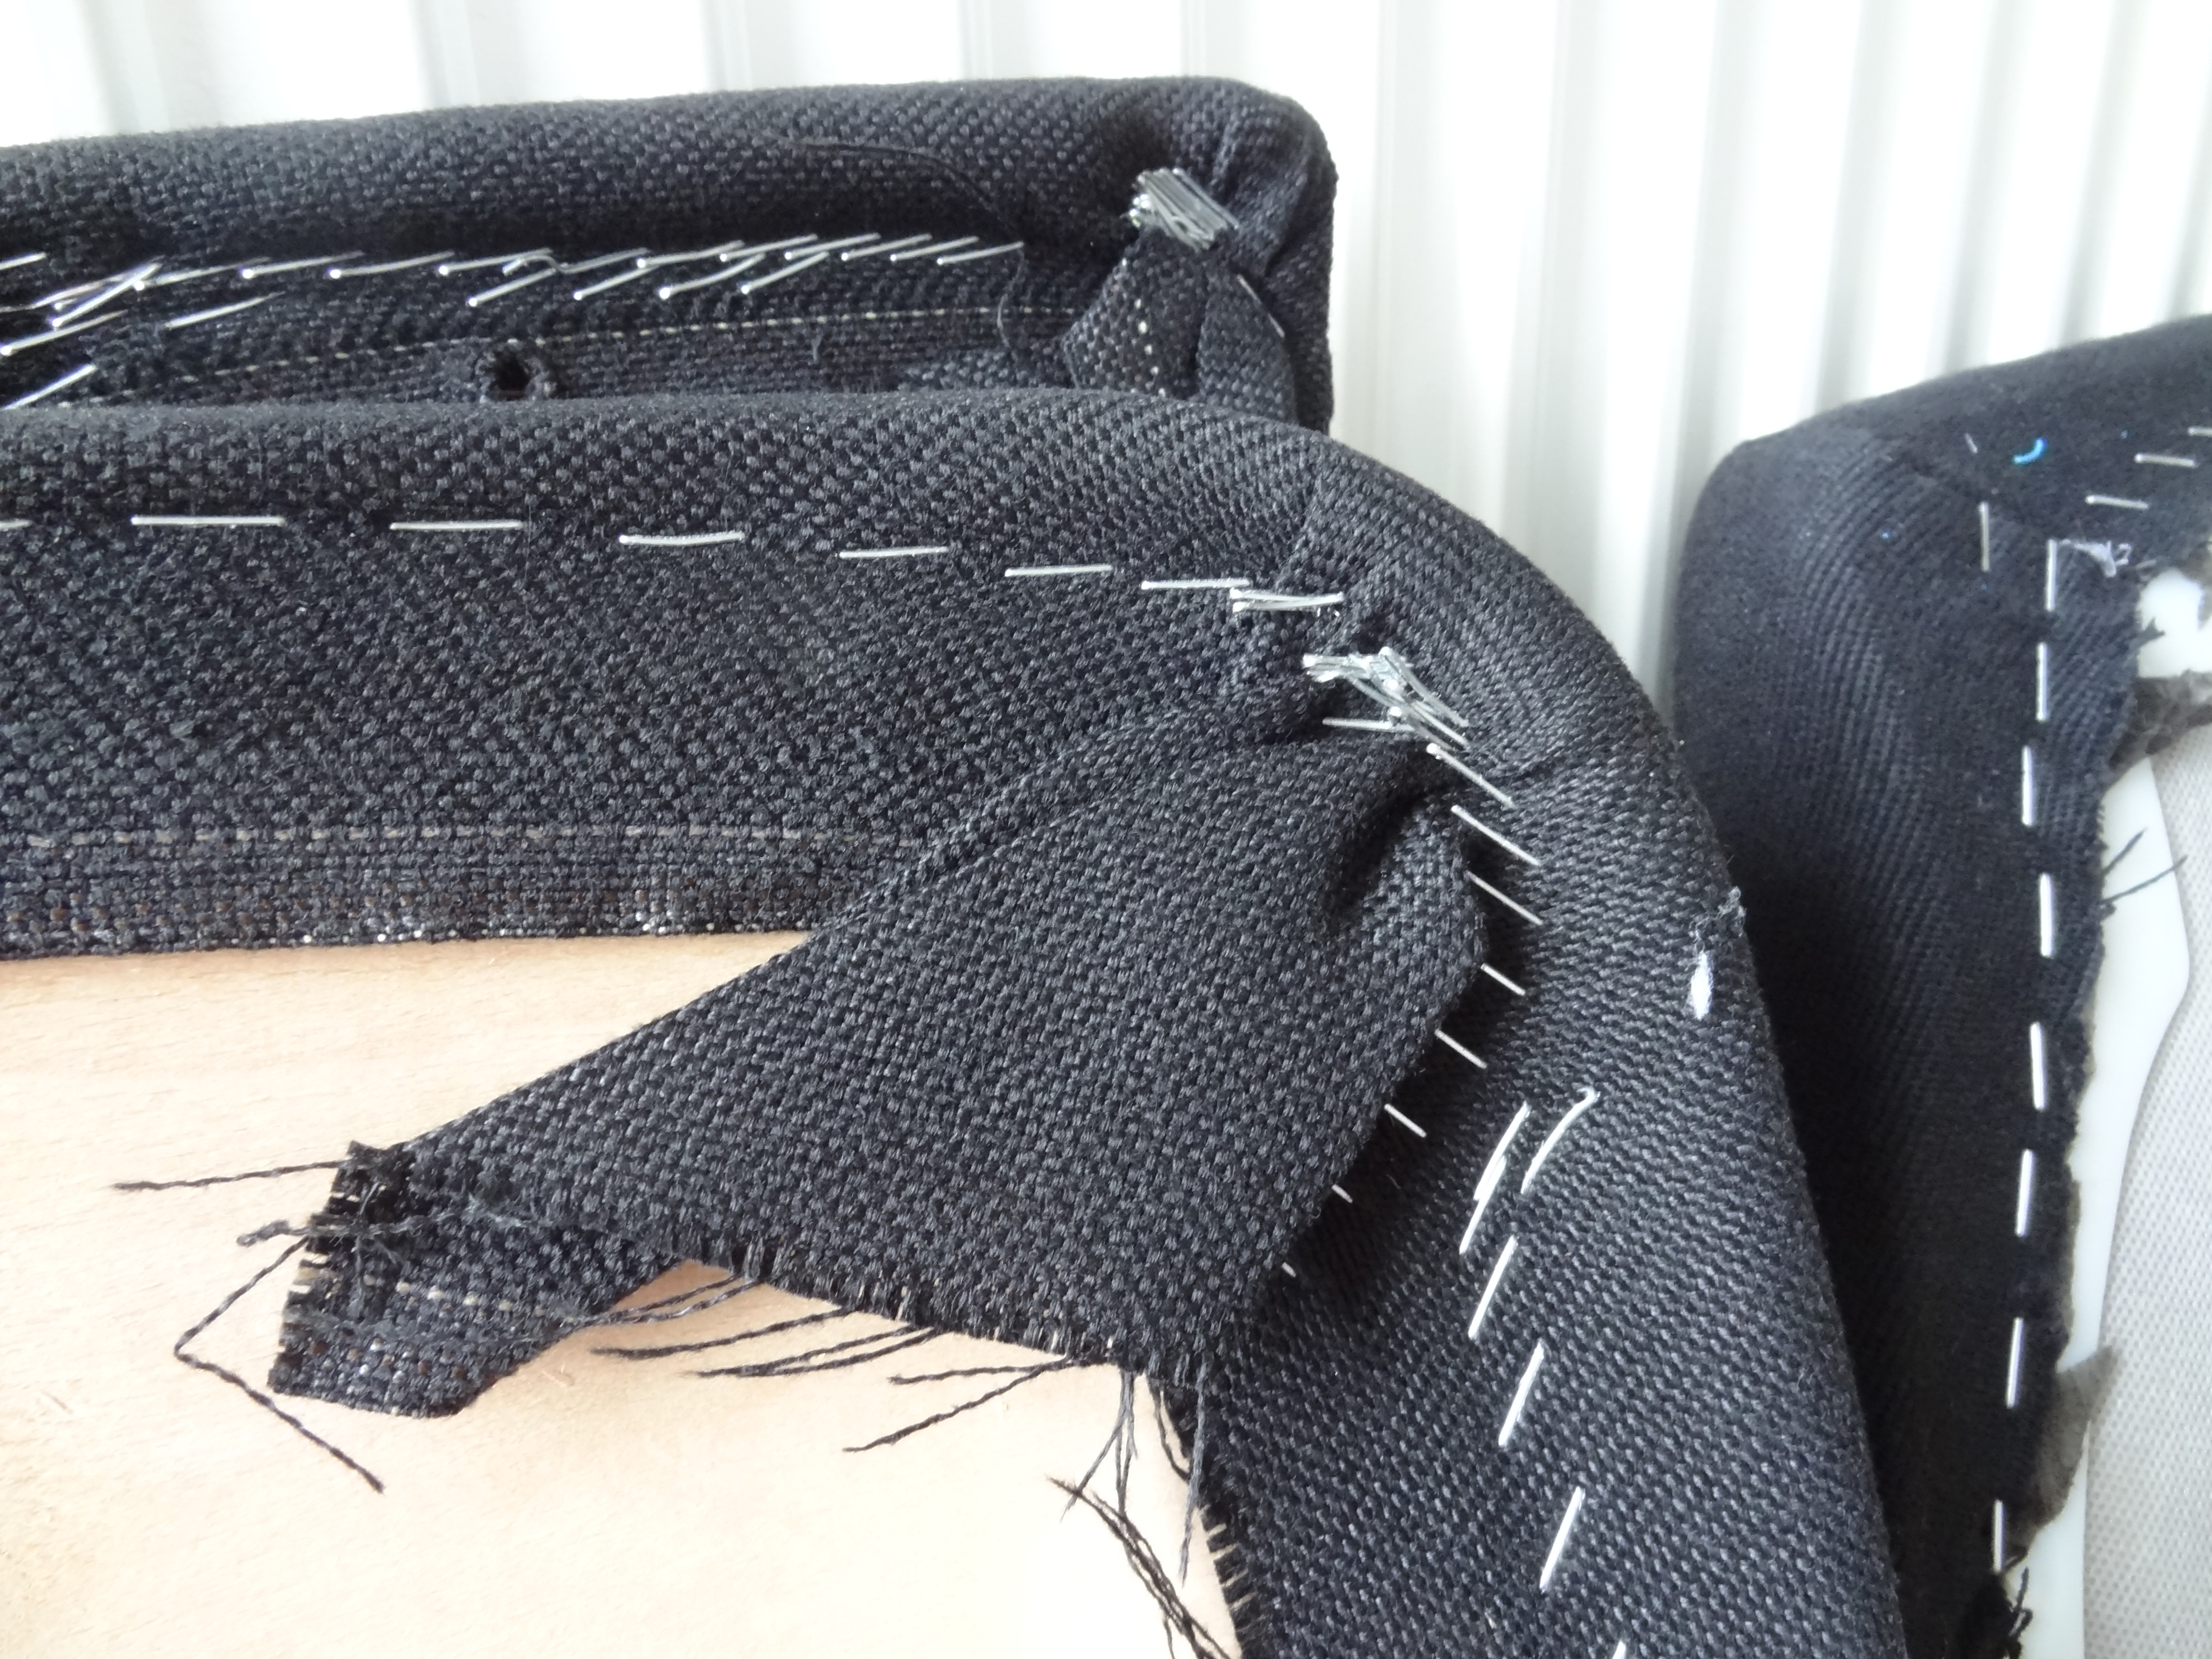
Ideally, the staples should be at an 90° angle to the border of the object you’re stapling. In doing this you will hold more fabric in place and reduce the number of staples you need. Obviously, this „stapling person“ was not familiar with that concept.
Look at the expensive seat cushion! This one was done by someone who knows their craft!
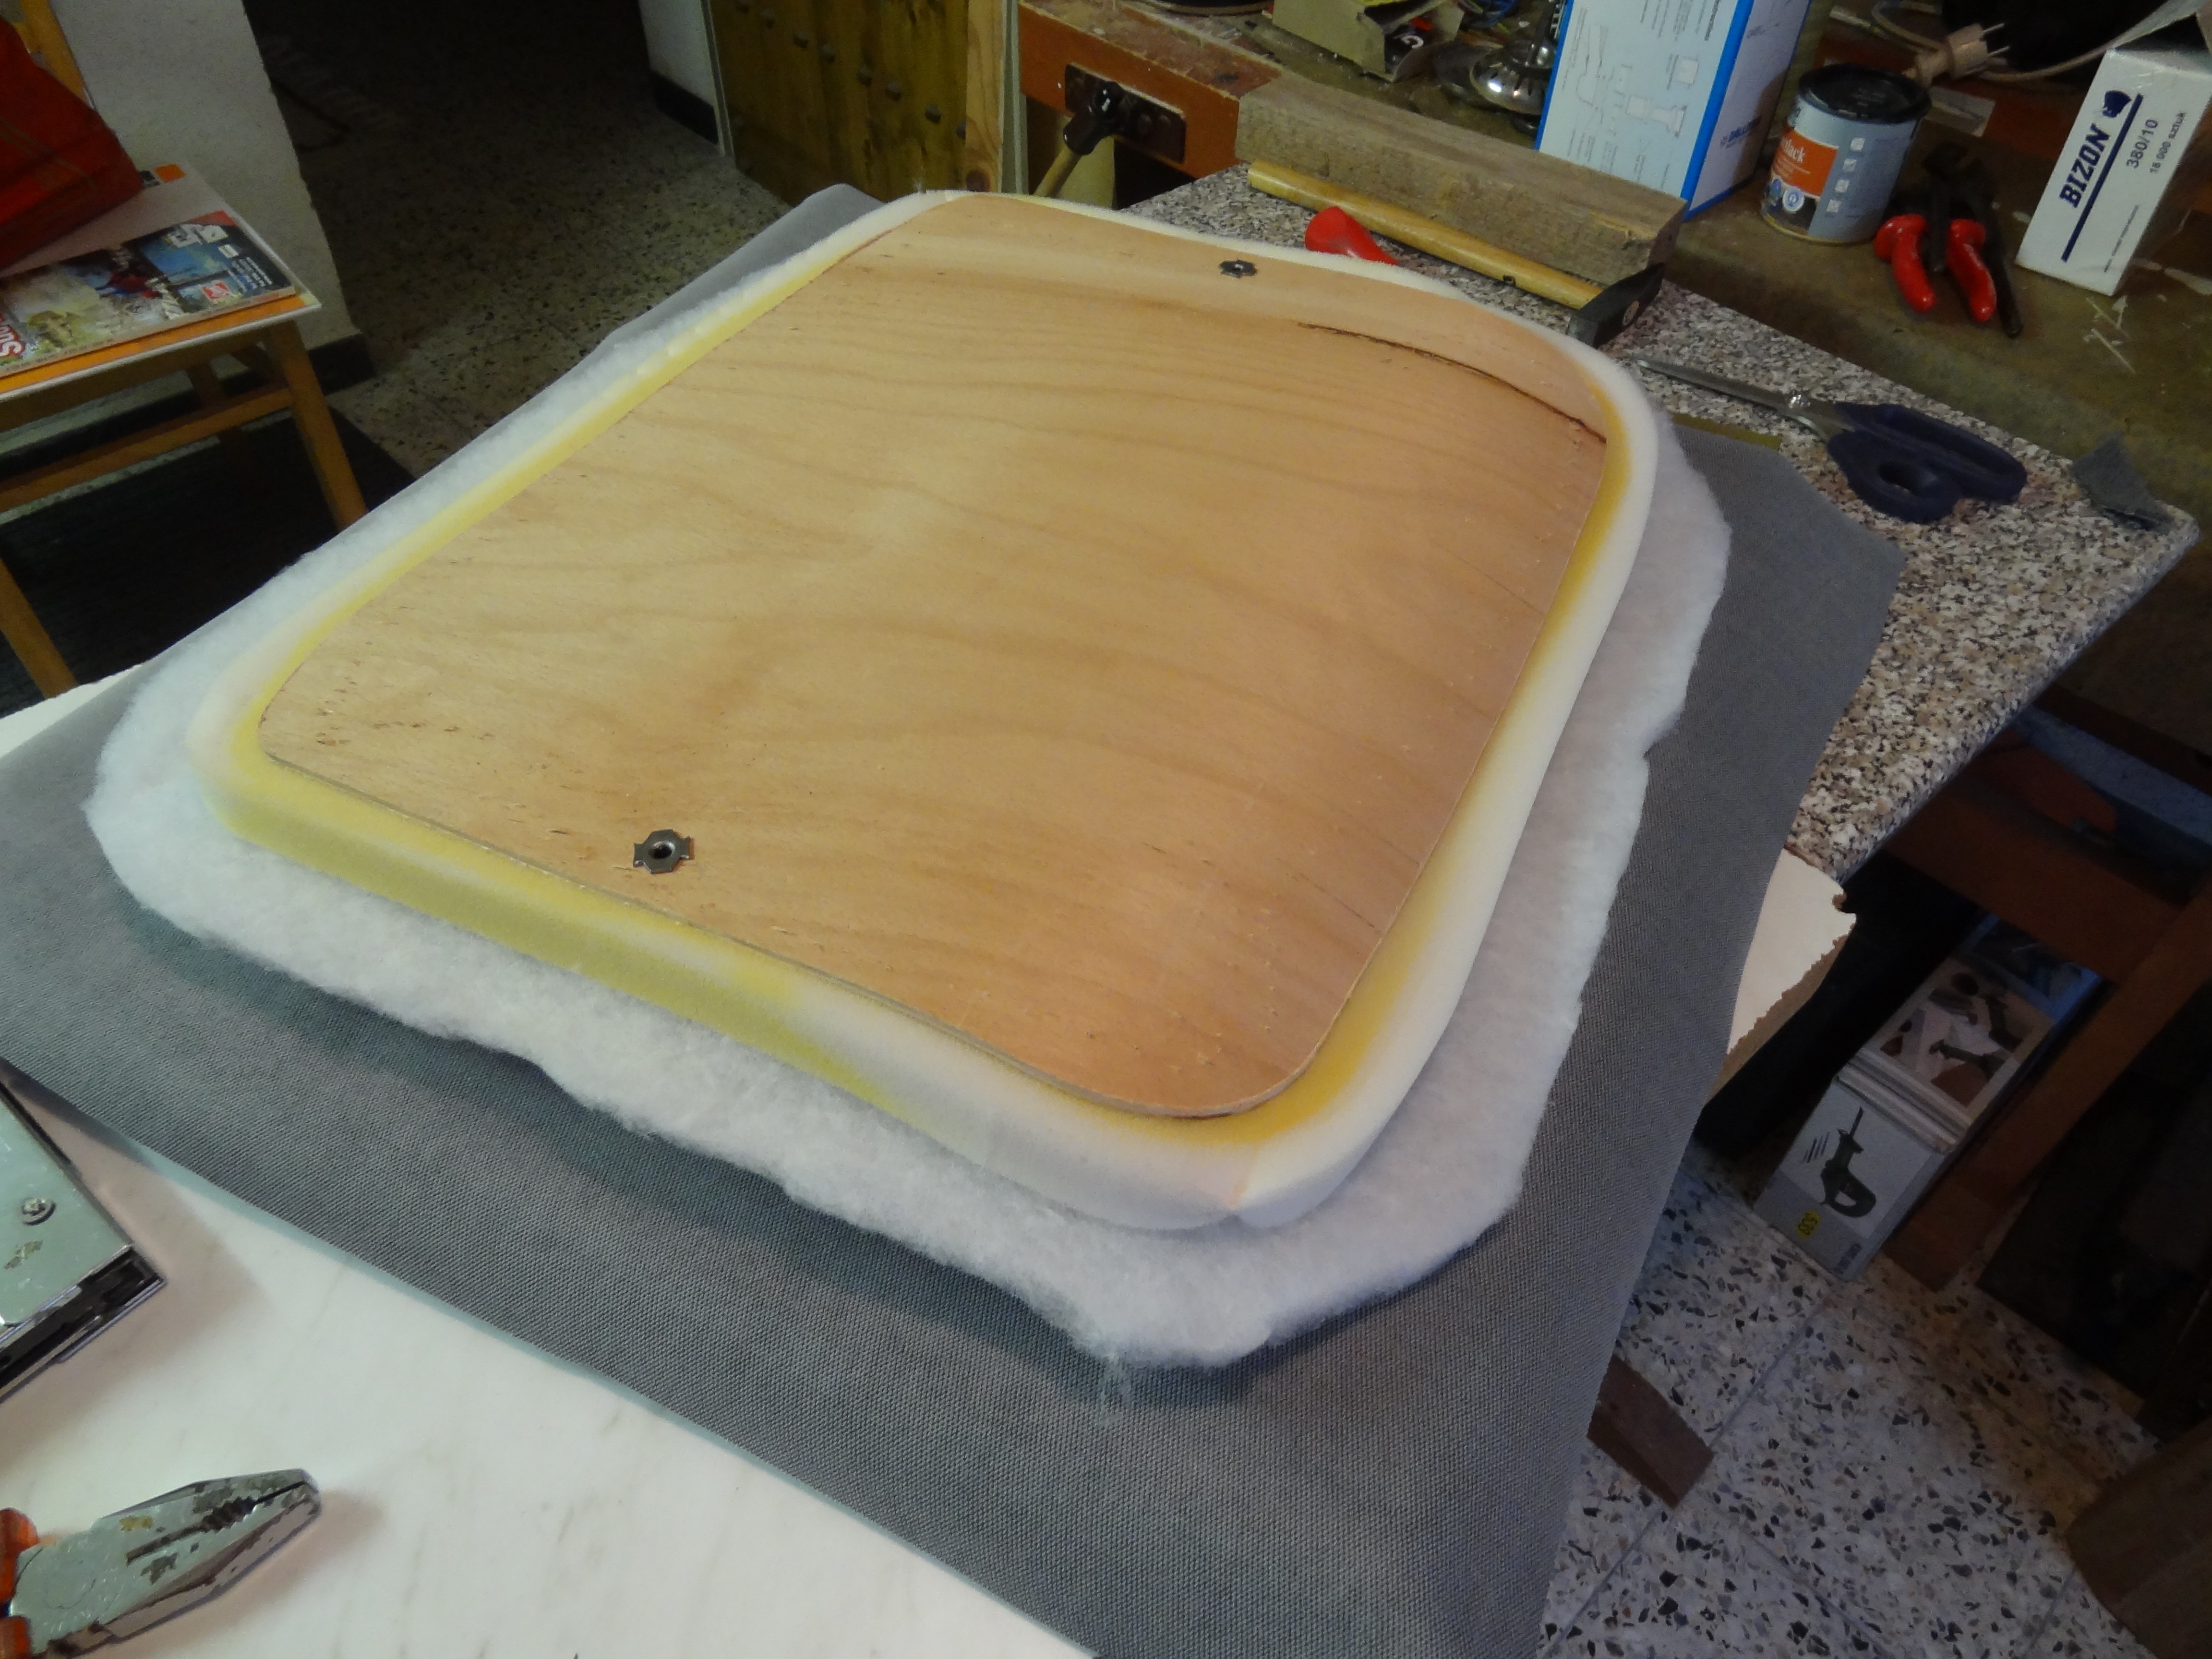
All the staples are out.. and the cushions and plywood boards and plastic frames lie bare. What’s to do next? Oh yeah..
Repair Work
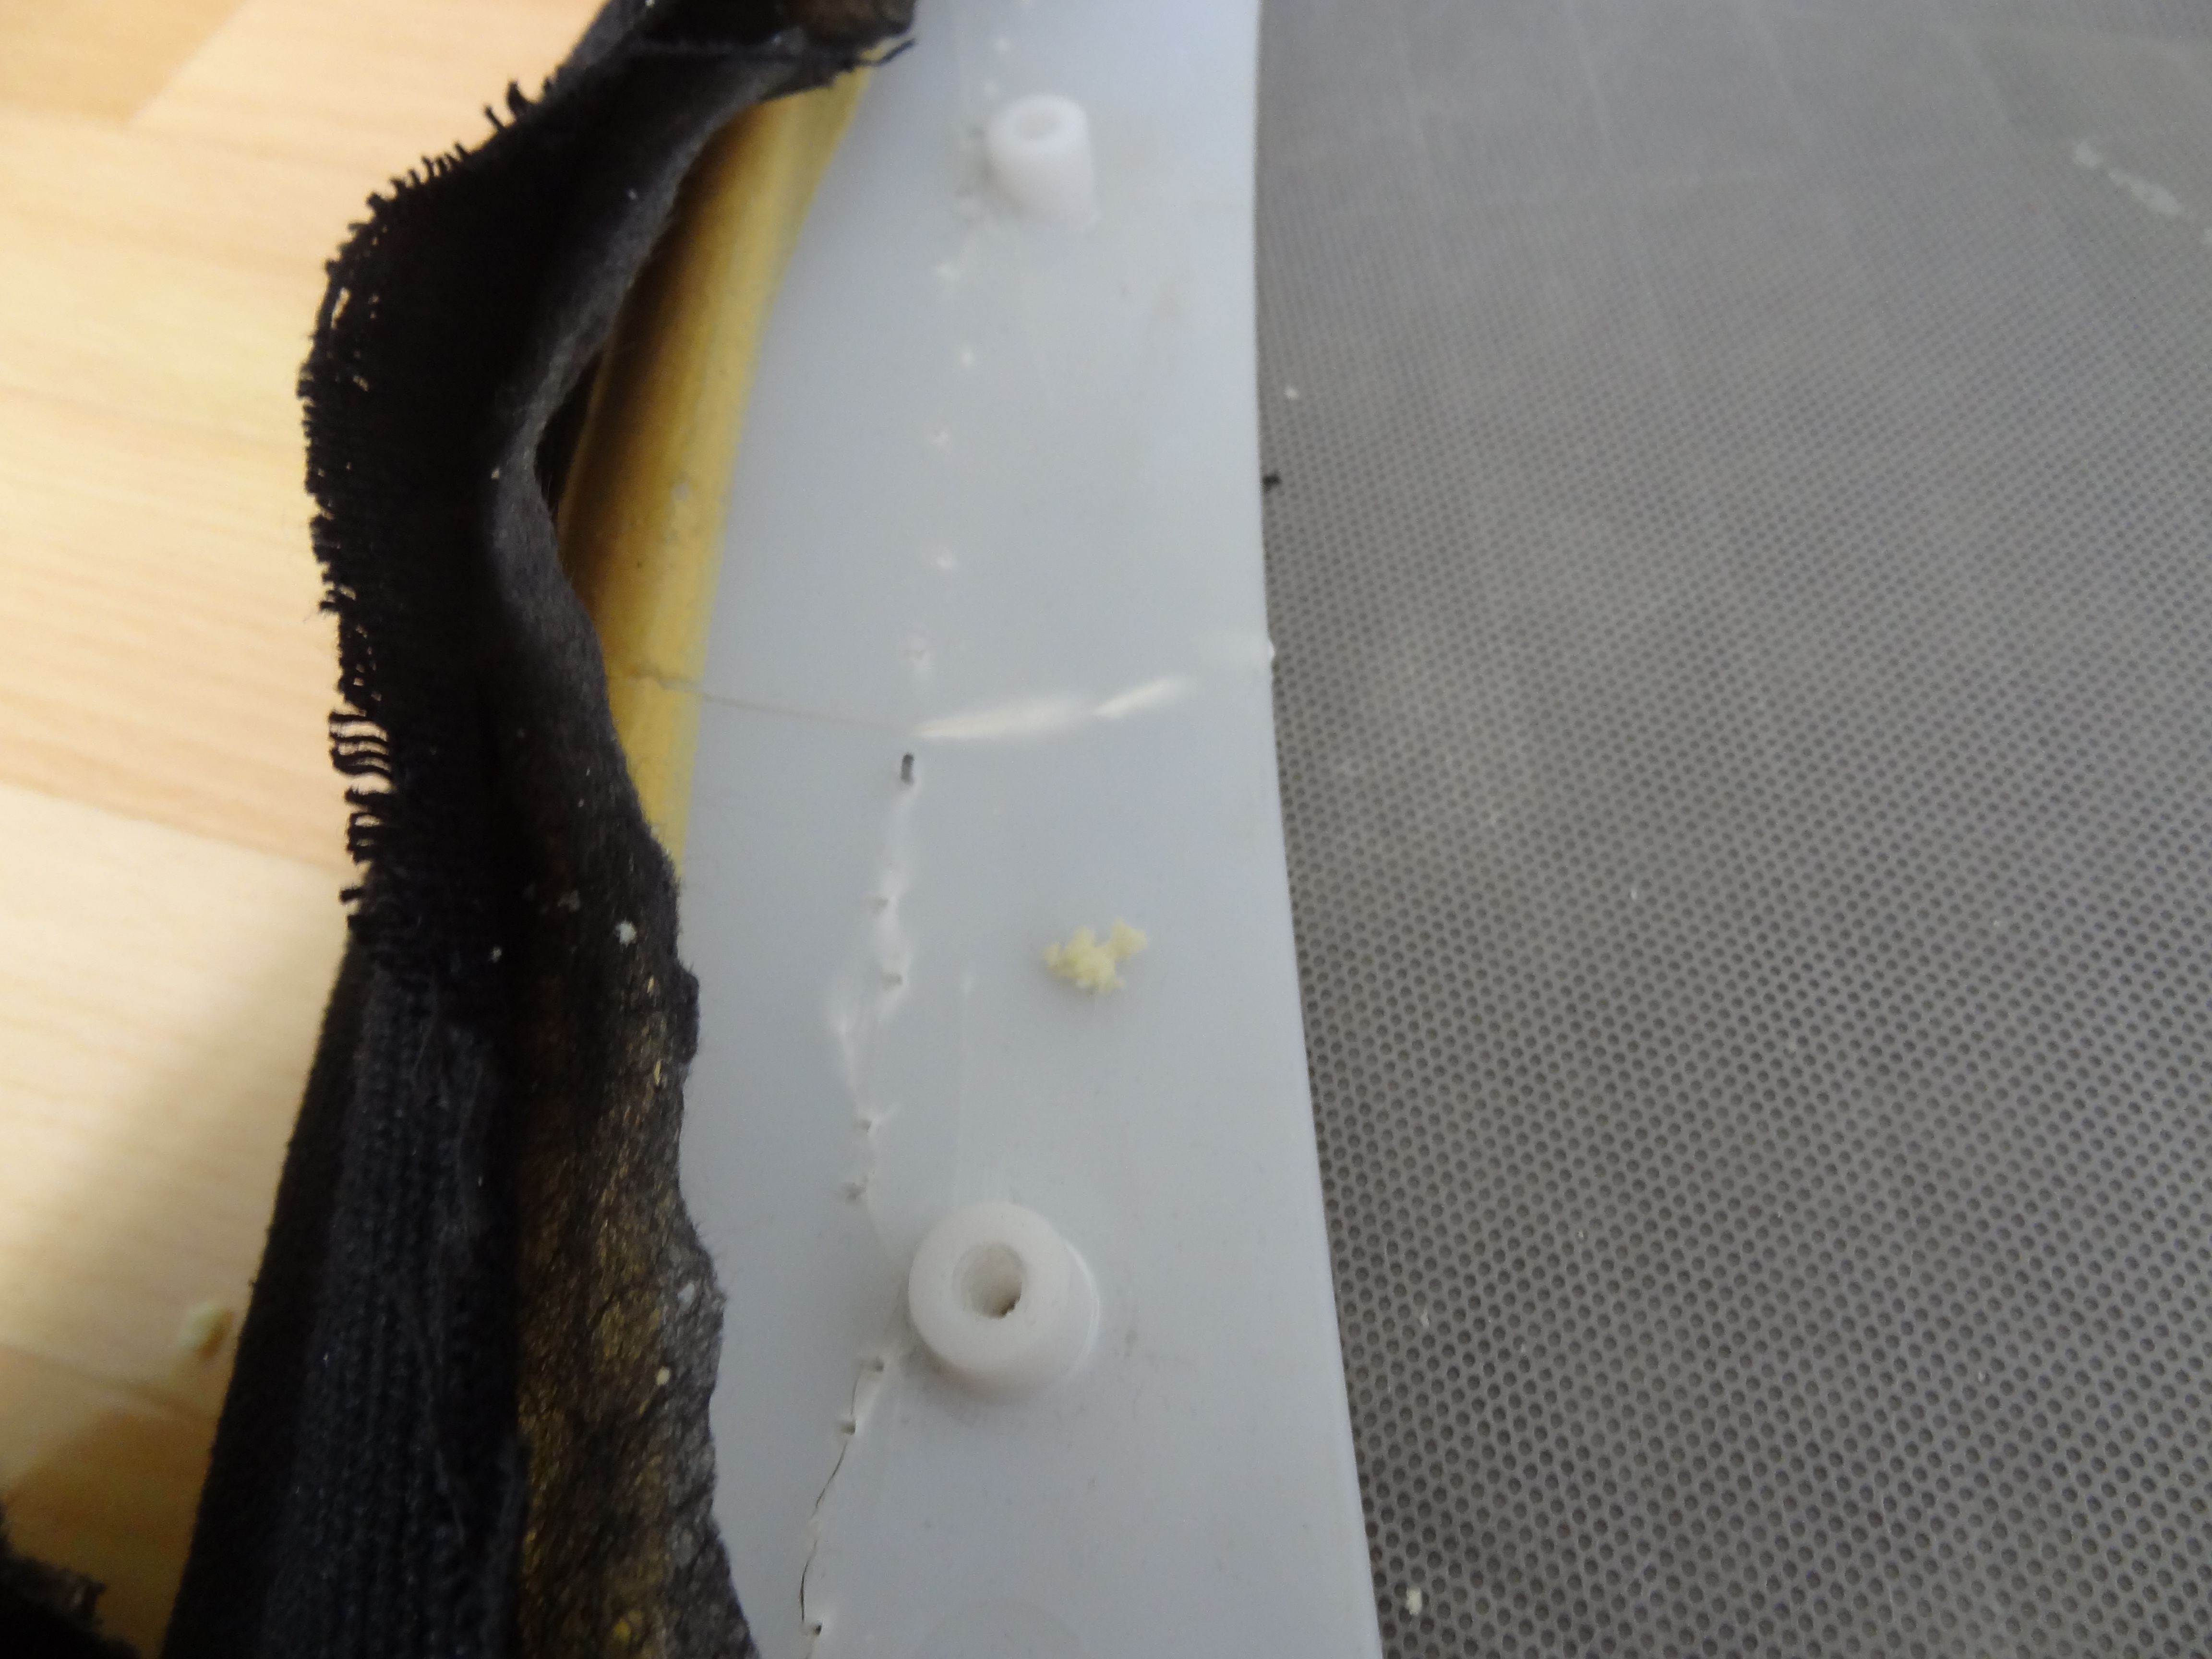
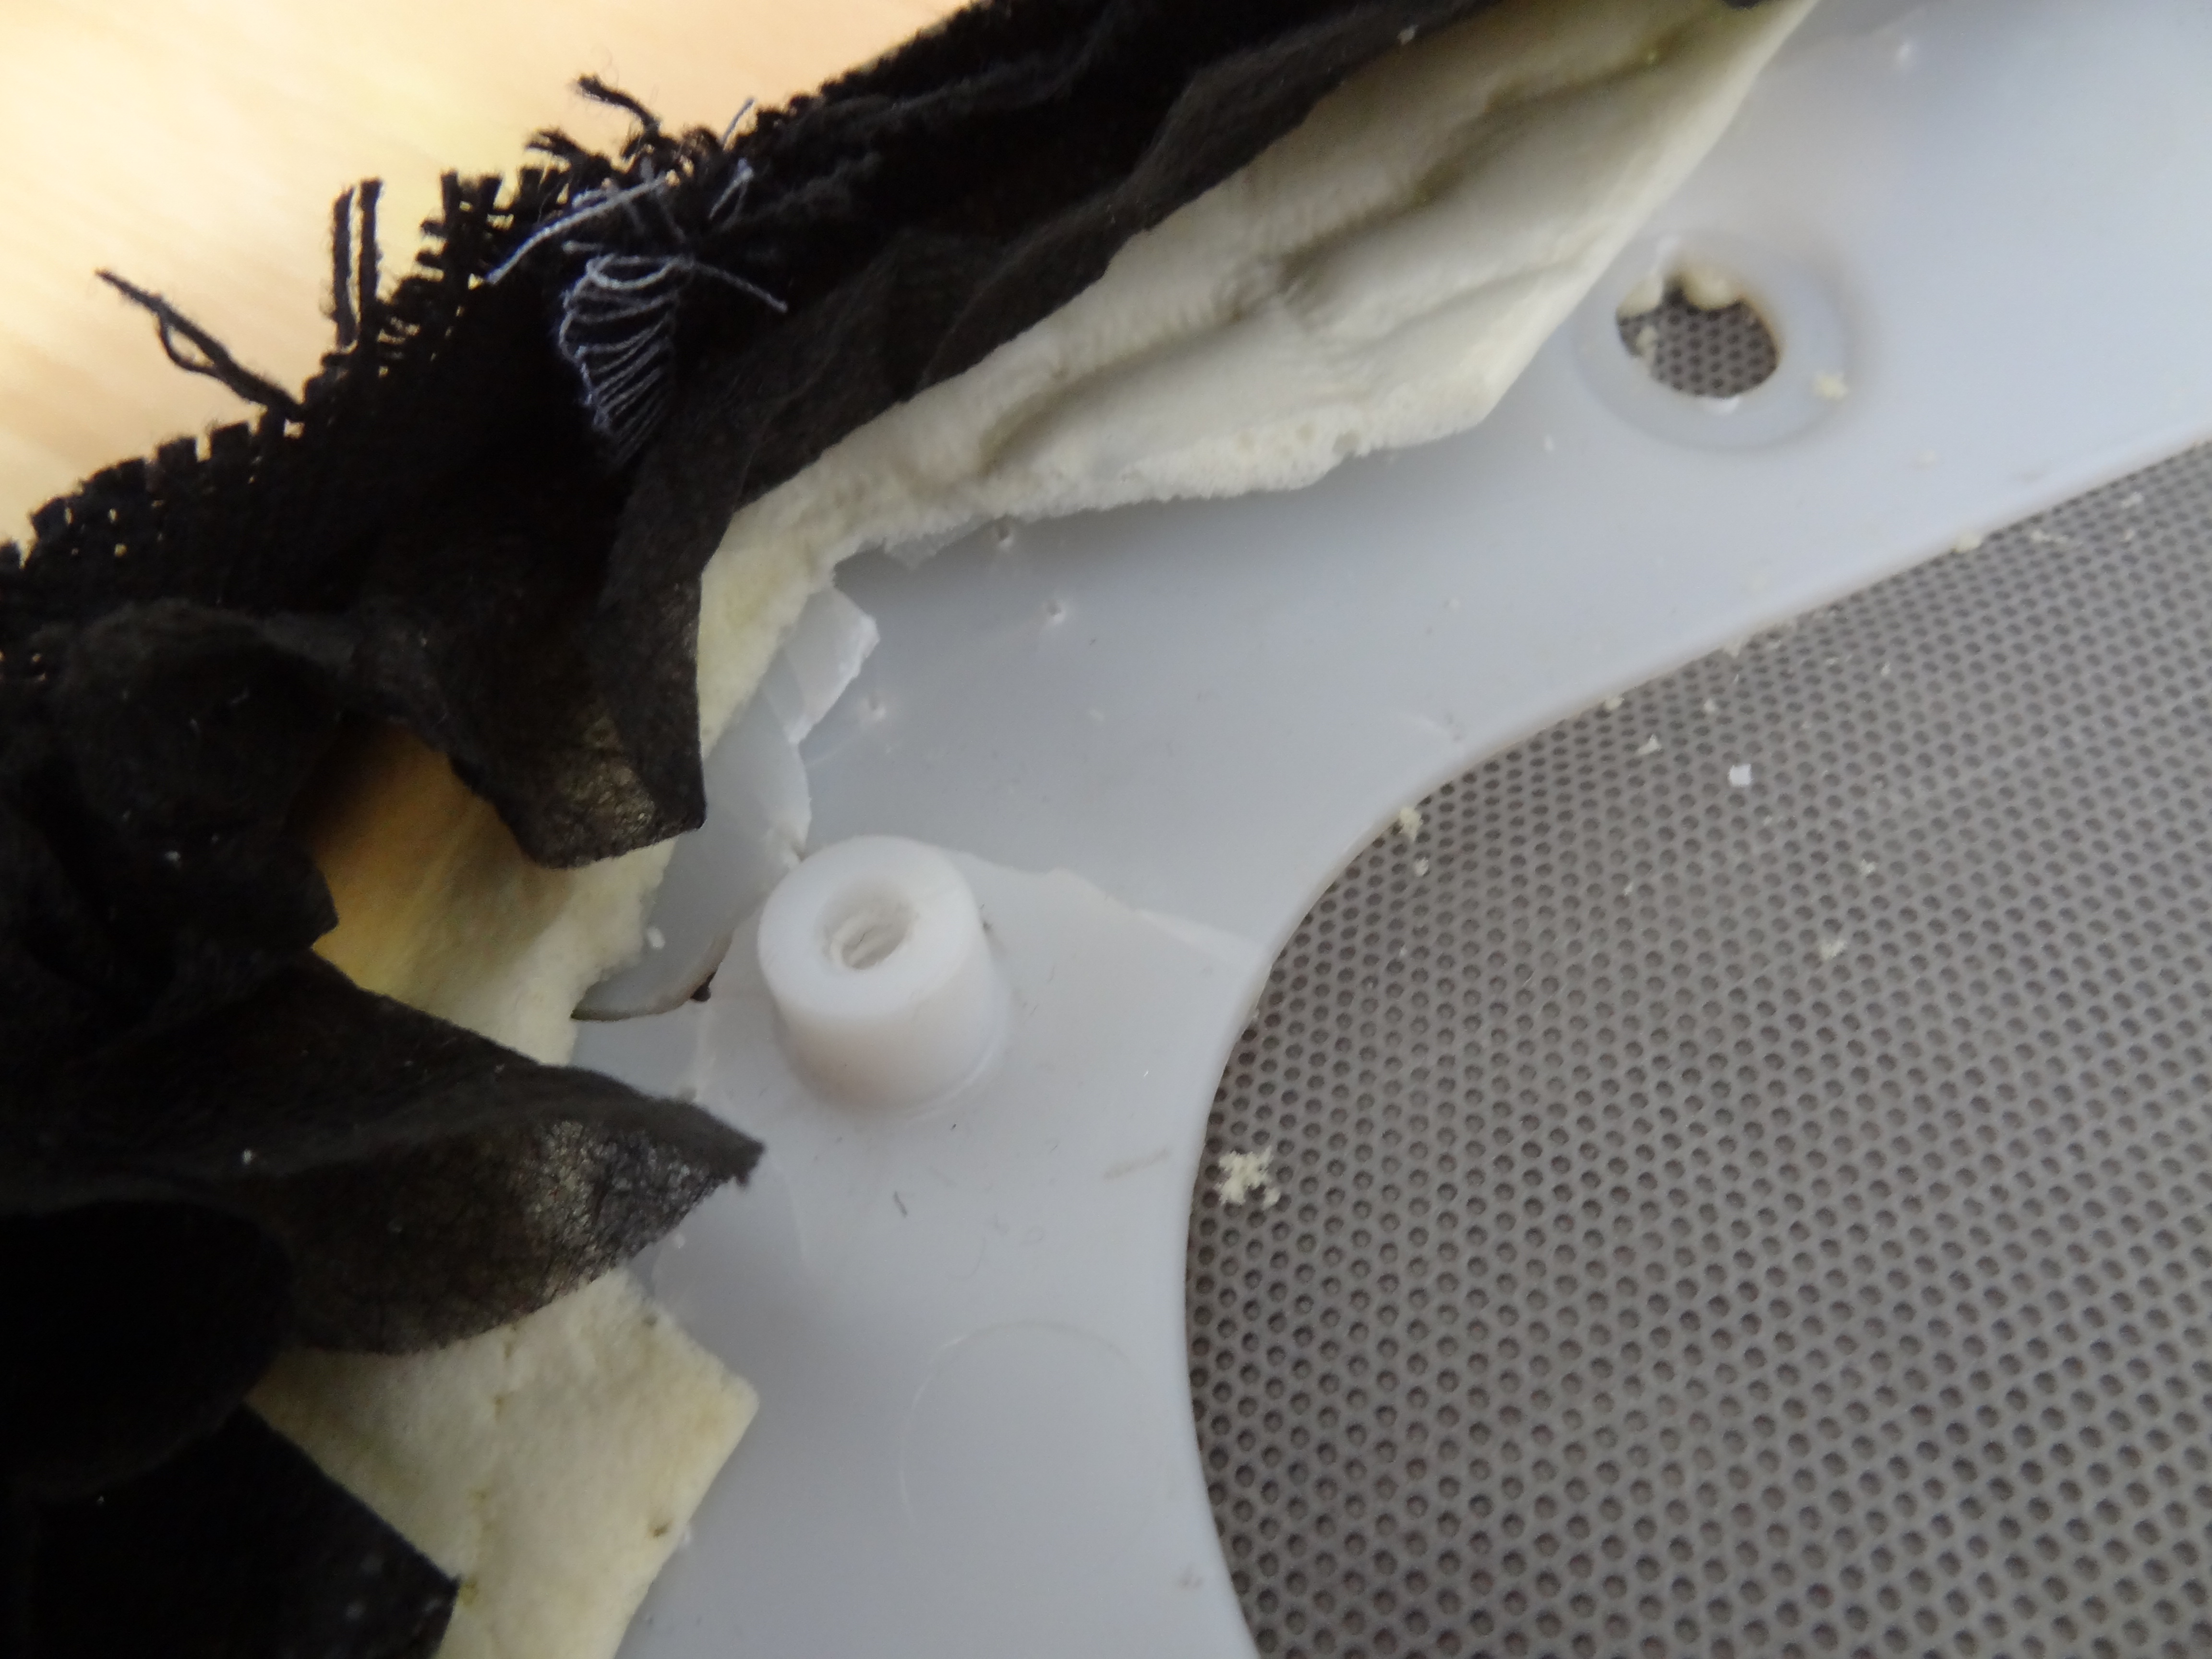
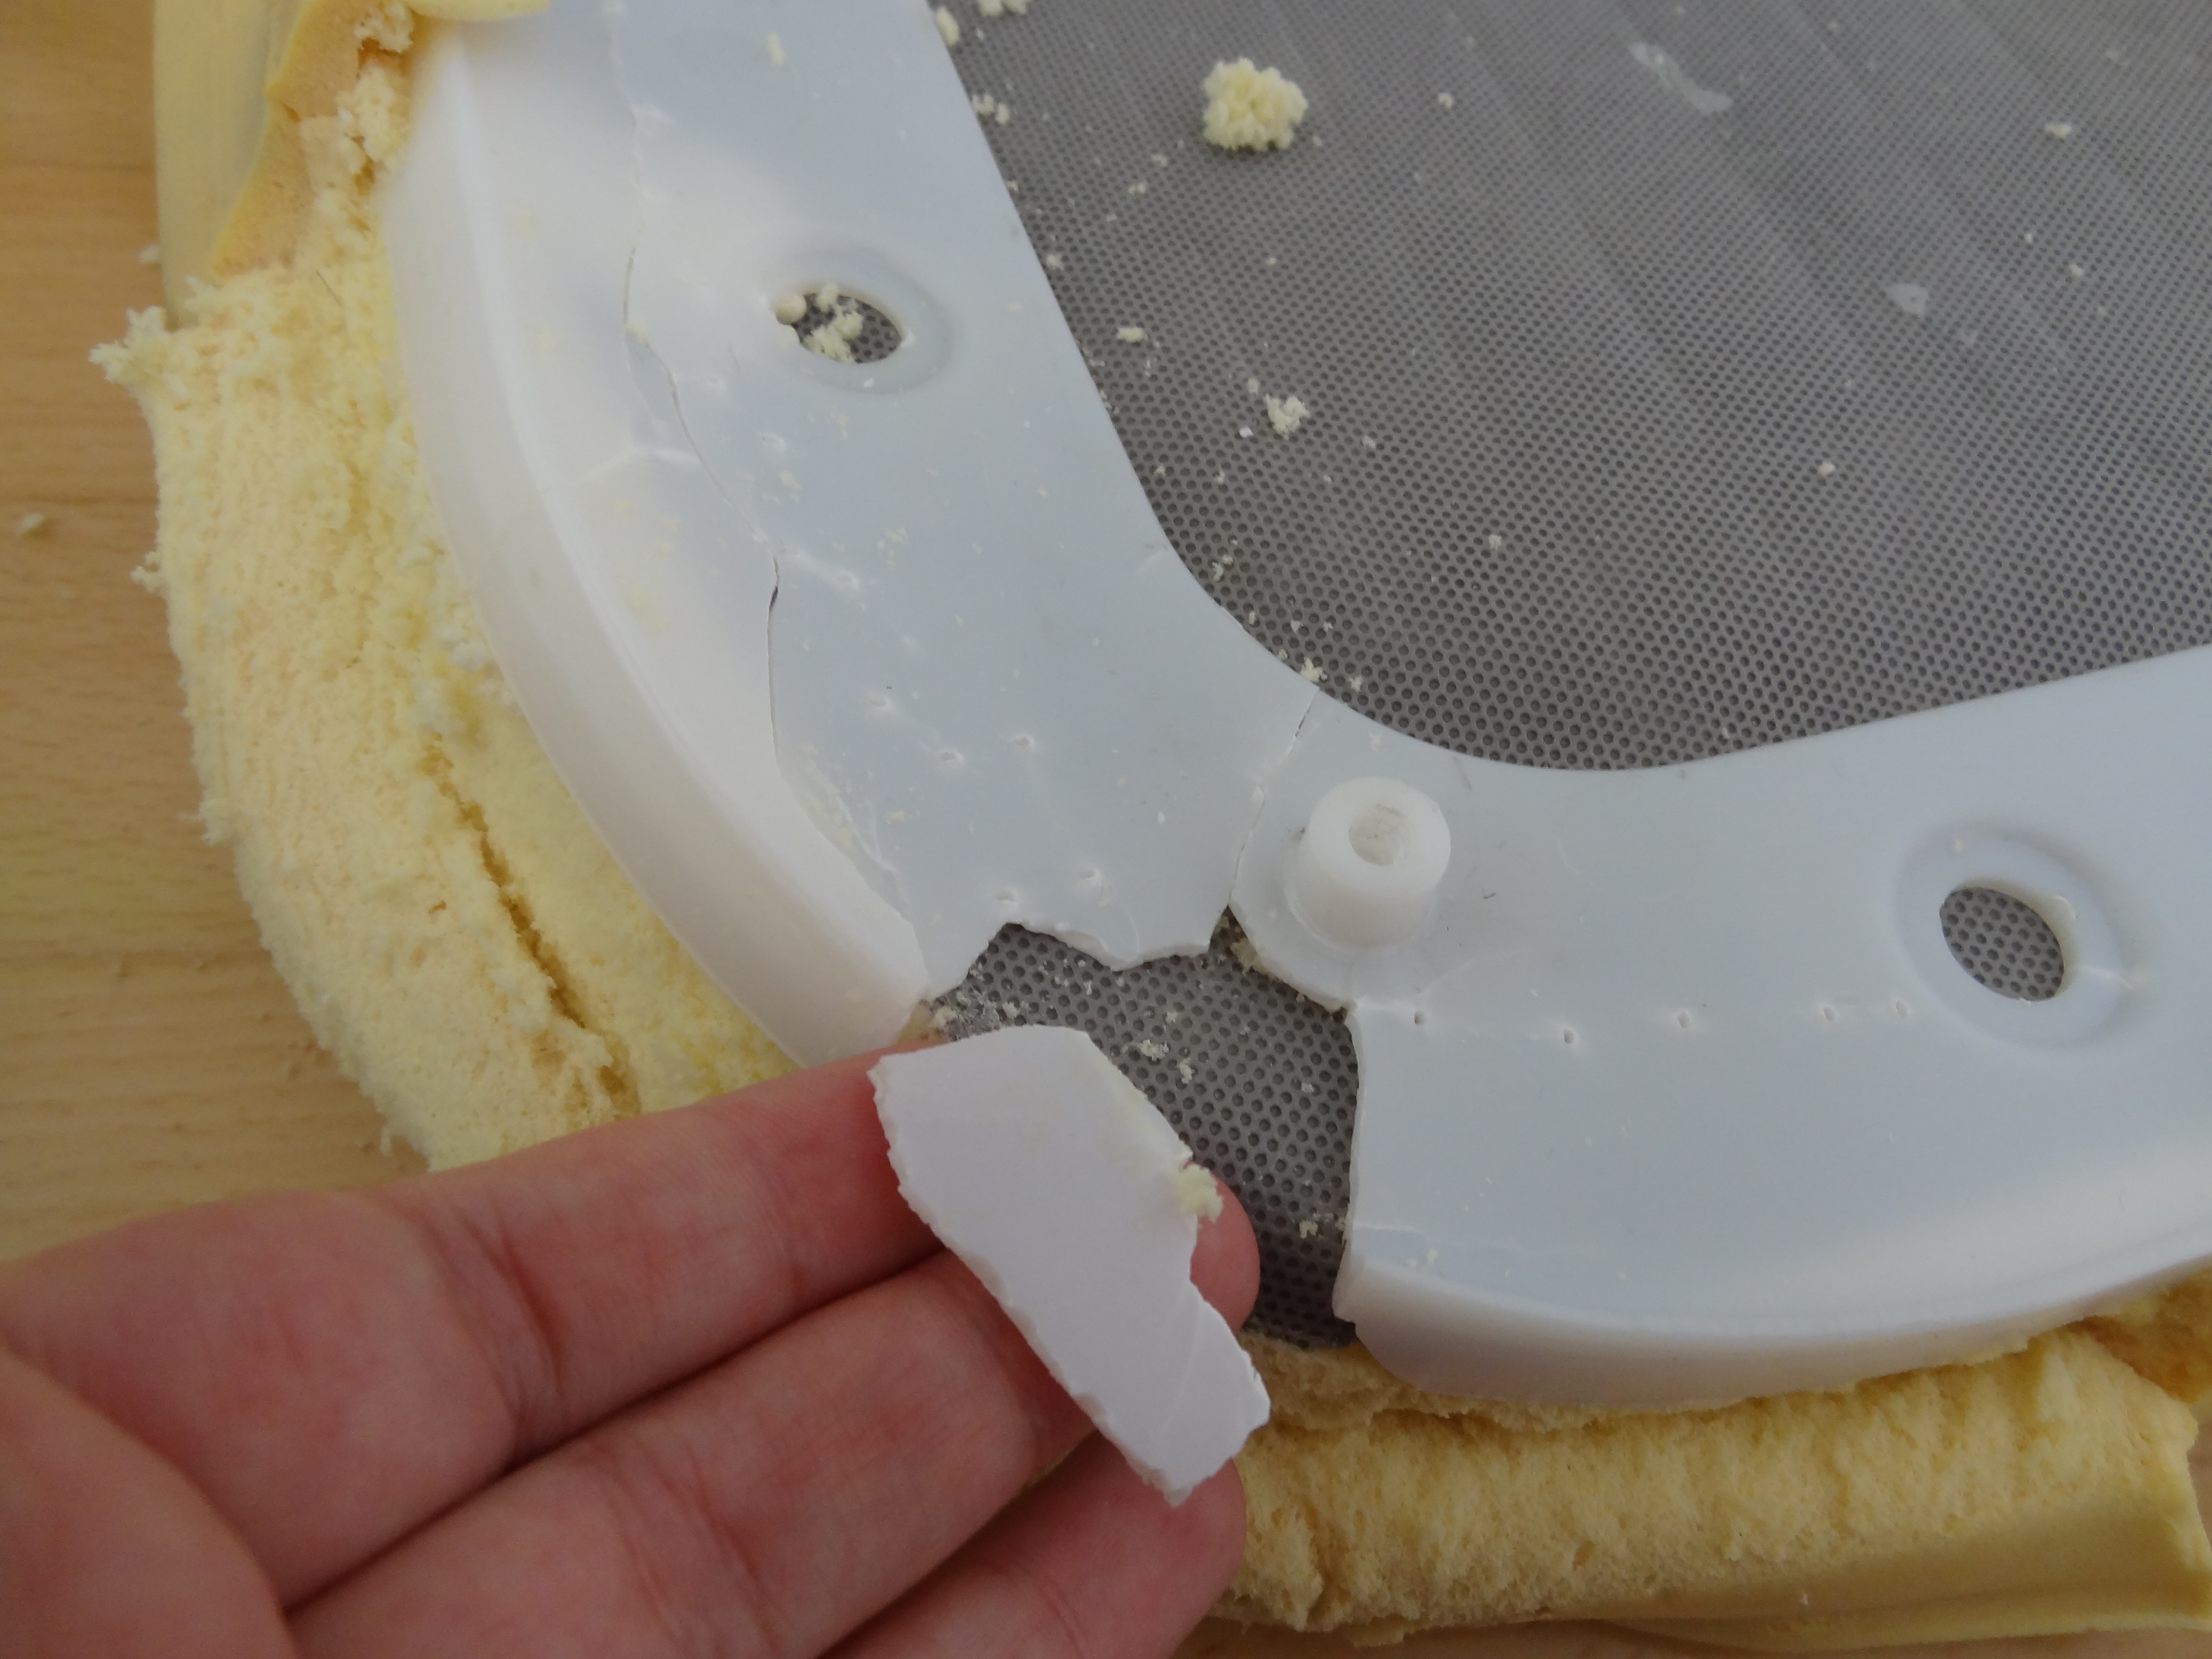
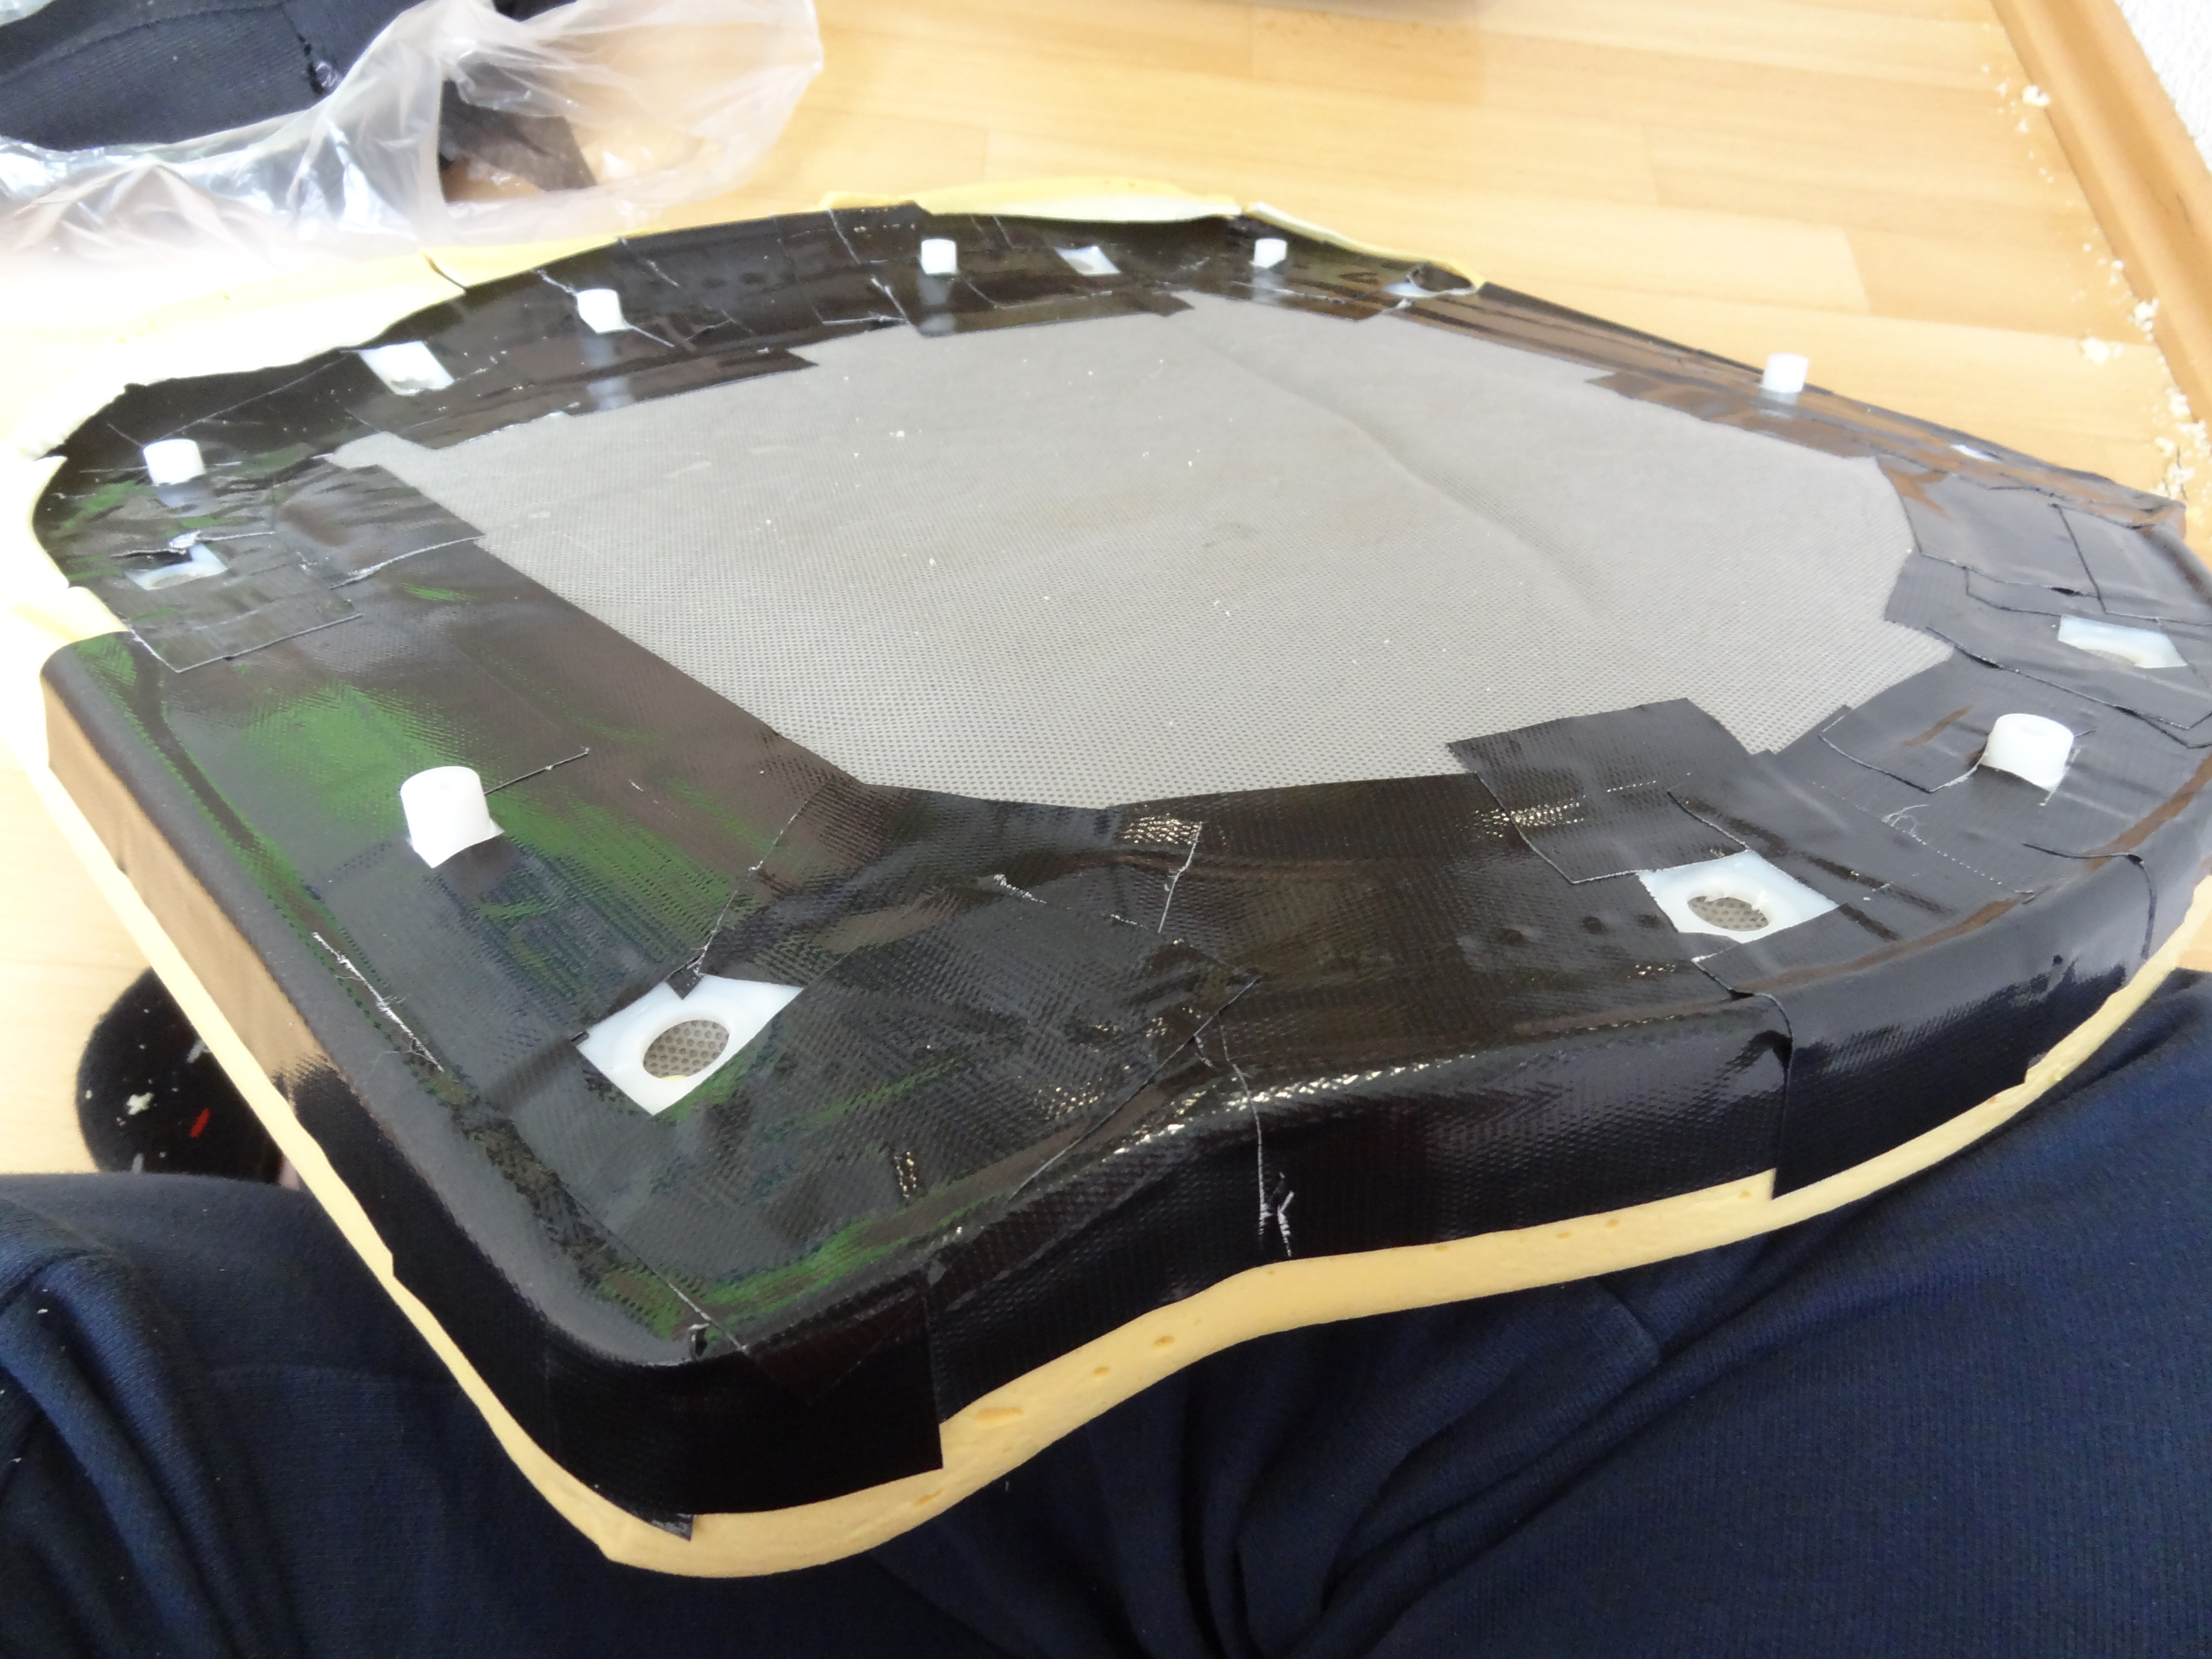
And being an avid MacGyver viewer, there’s really only one way to fix this..
Using a box cutter, I’ve cut off small pieces of tape and started taping the frame. Two to three layers for broken pieces, one to two for stabilizing the entire frame.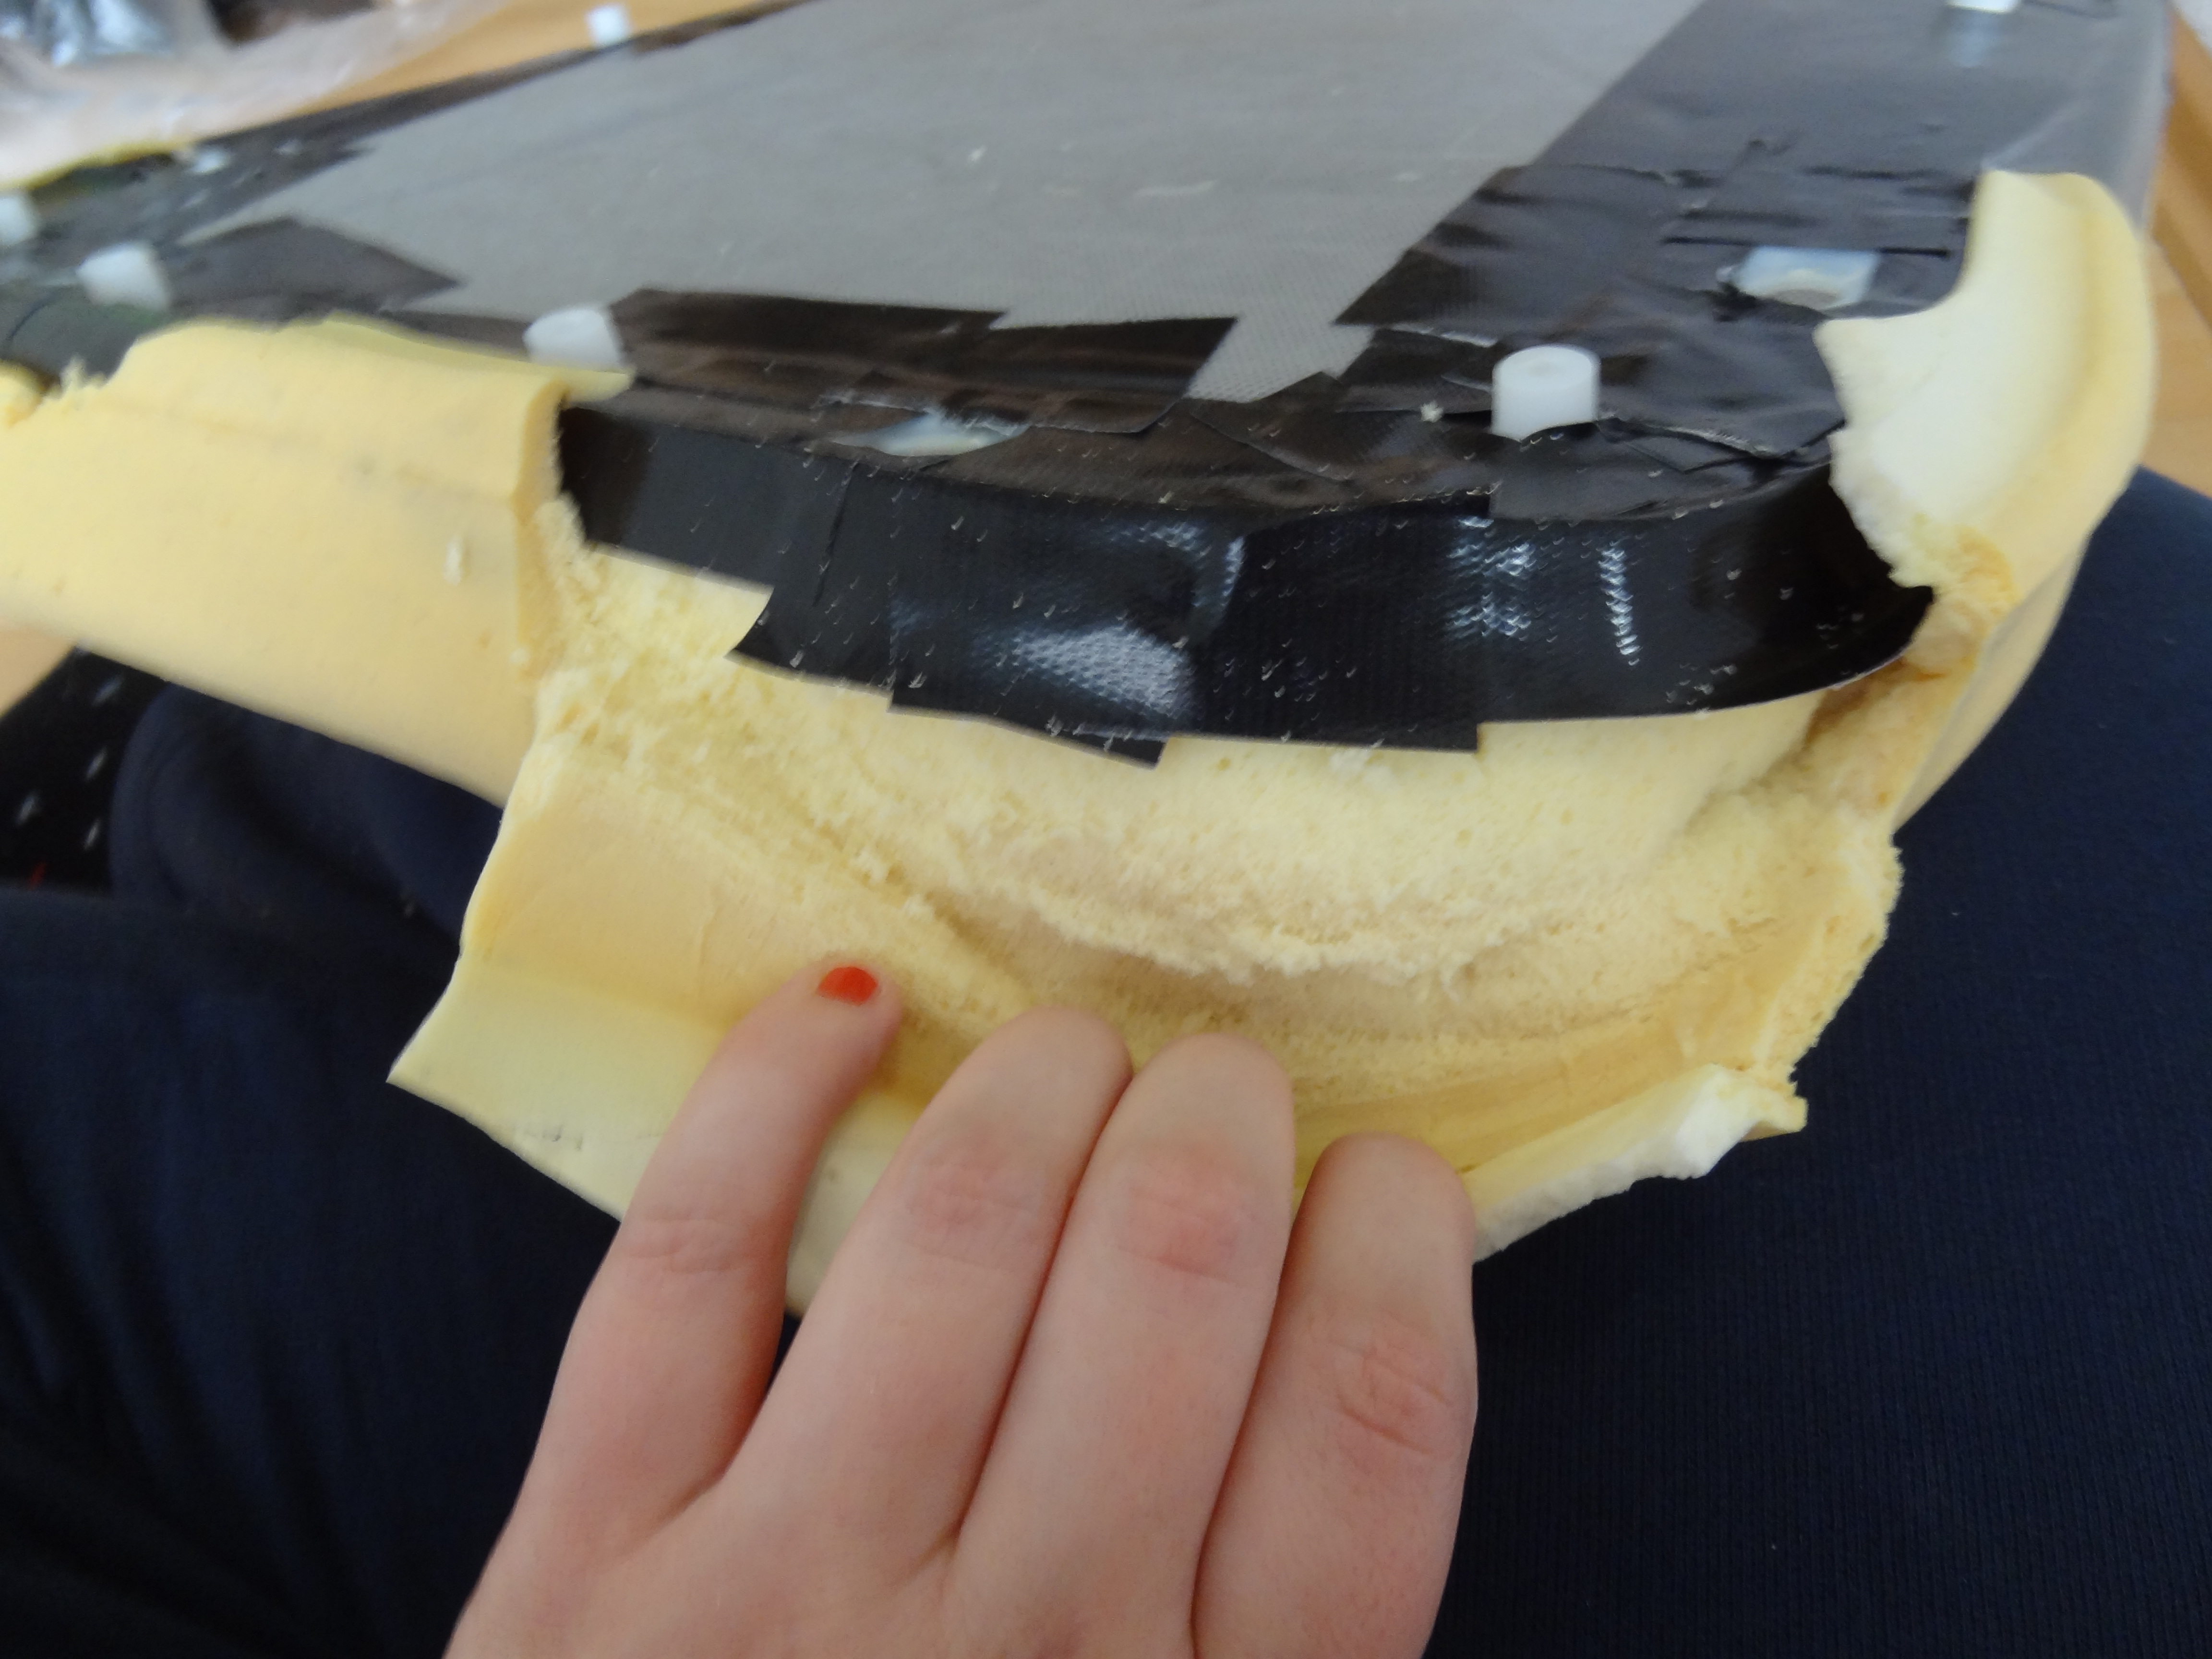
I had to pull the cushion down a tad, to fix the broken pieces. Don’t worry, it will be glued back in place later!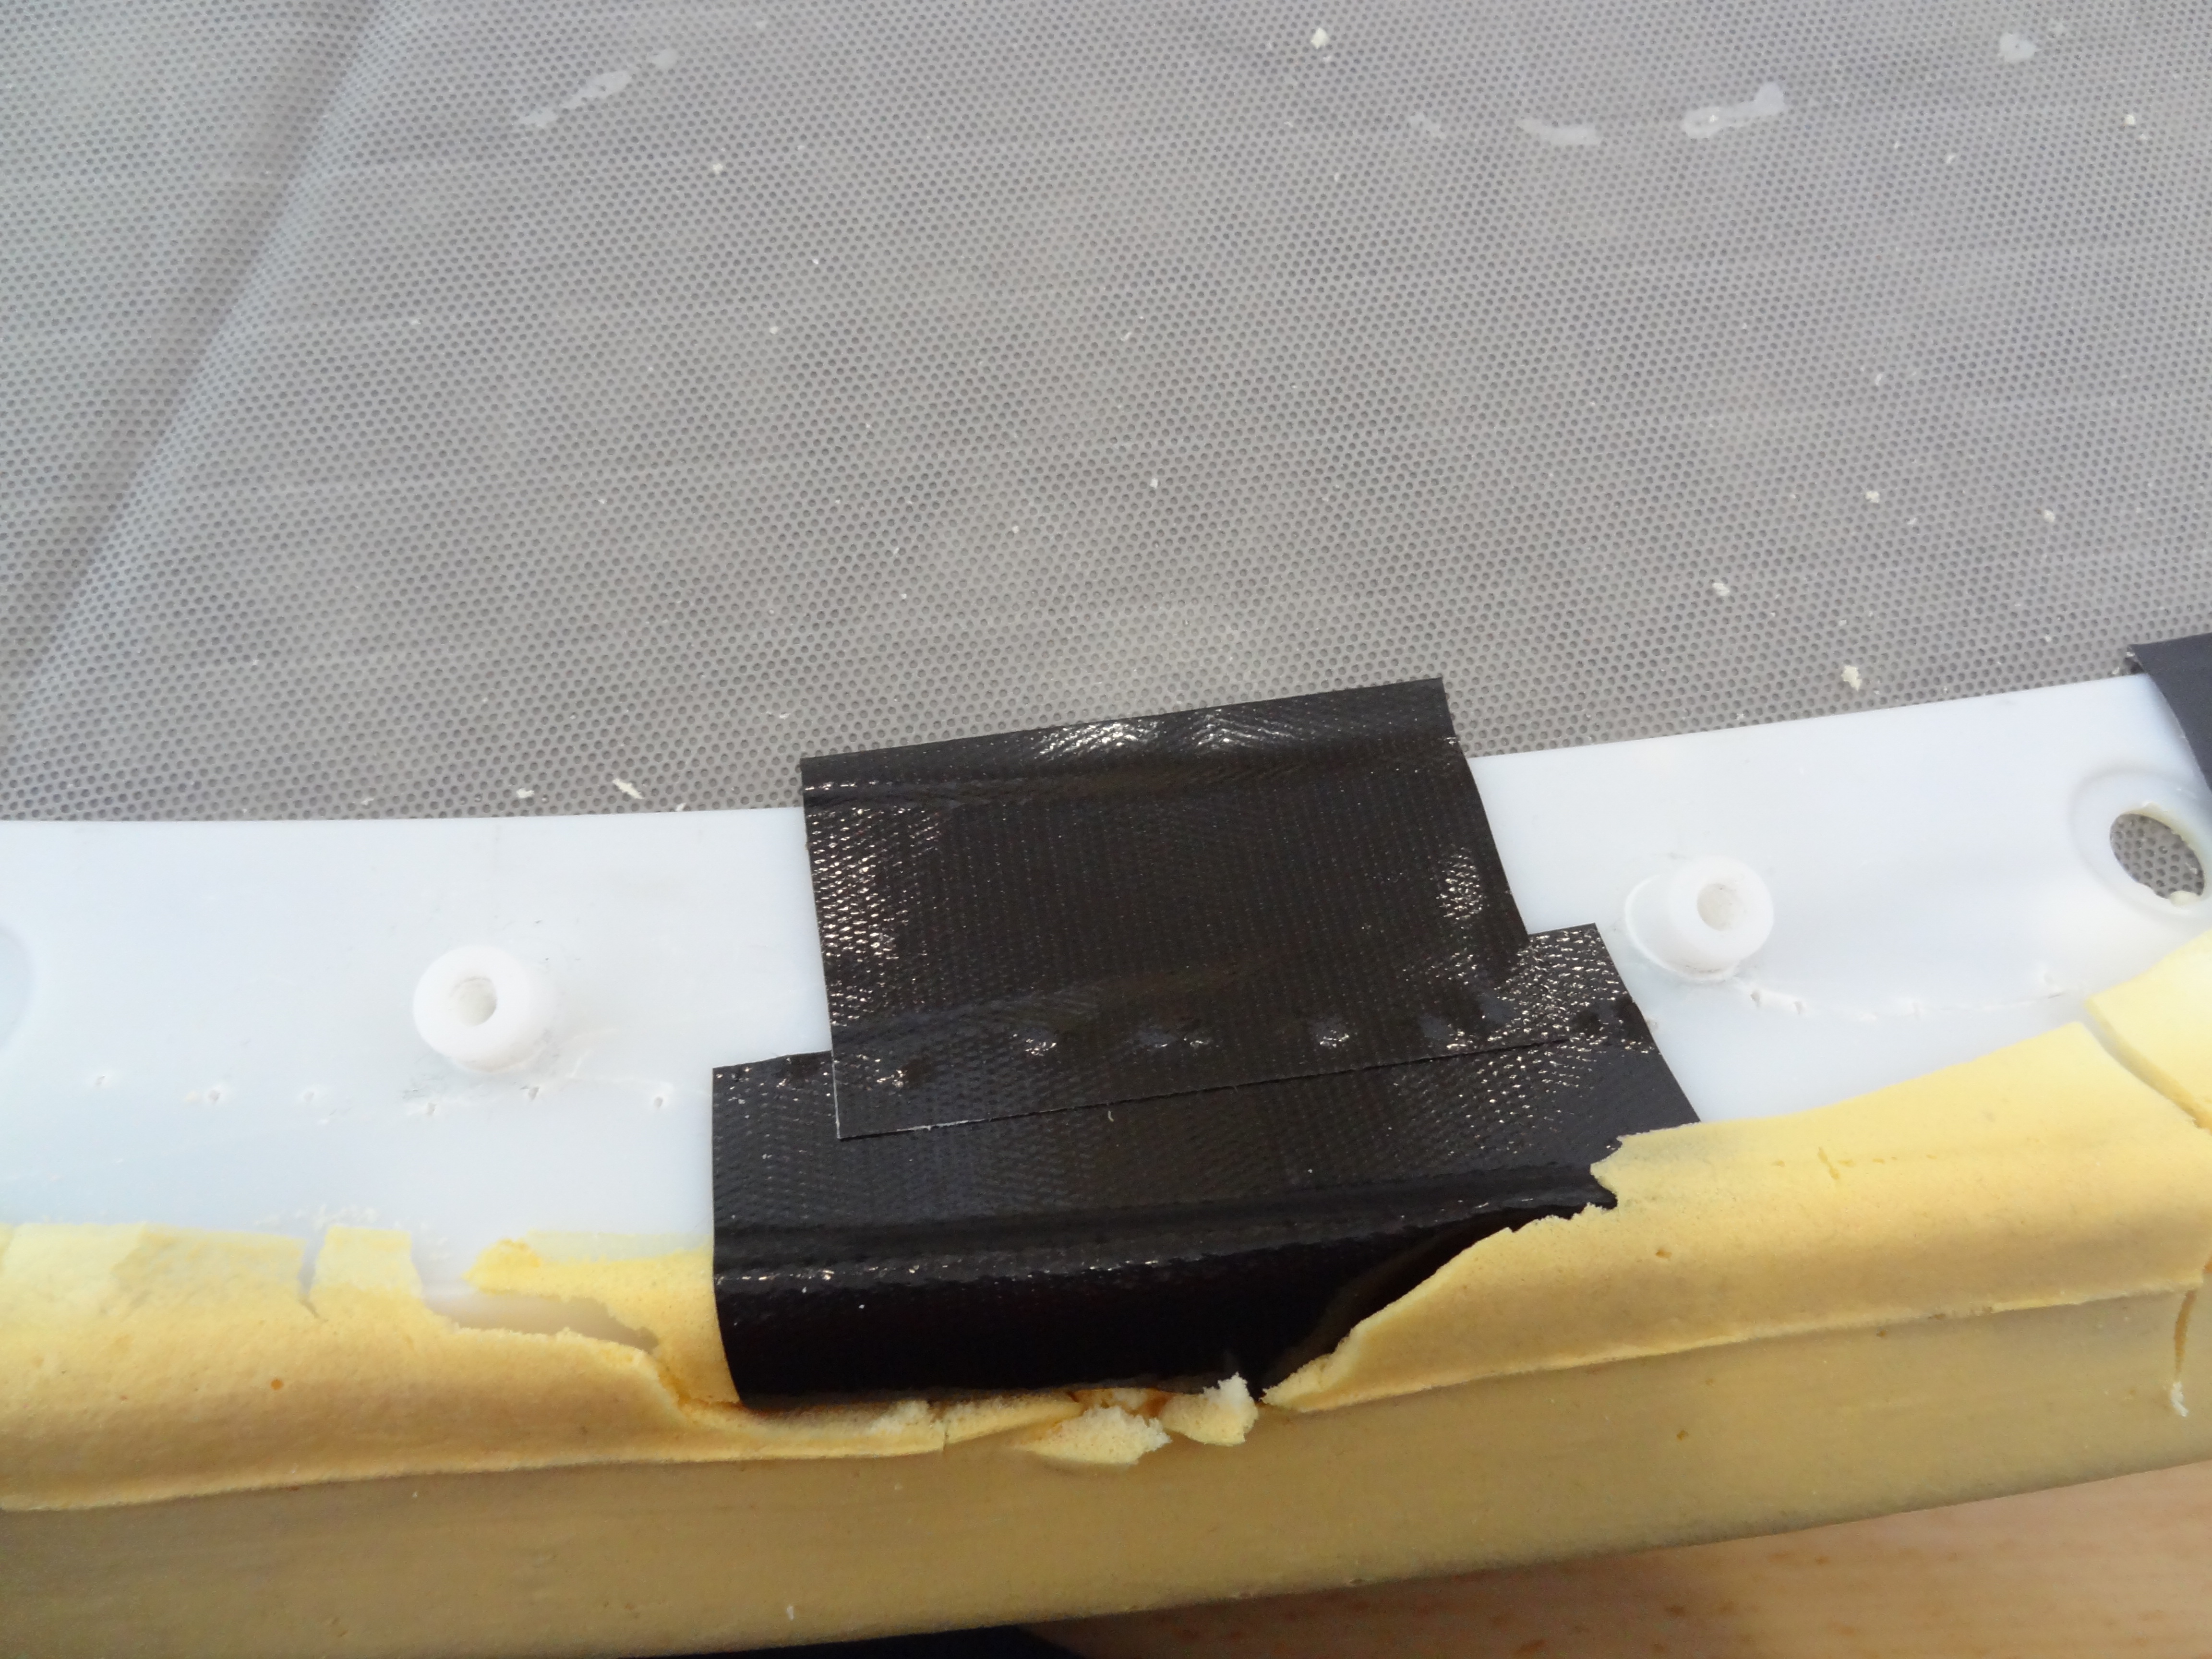
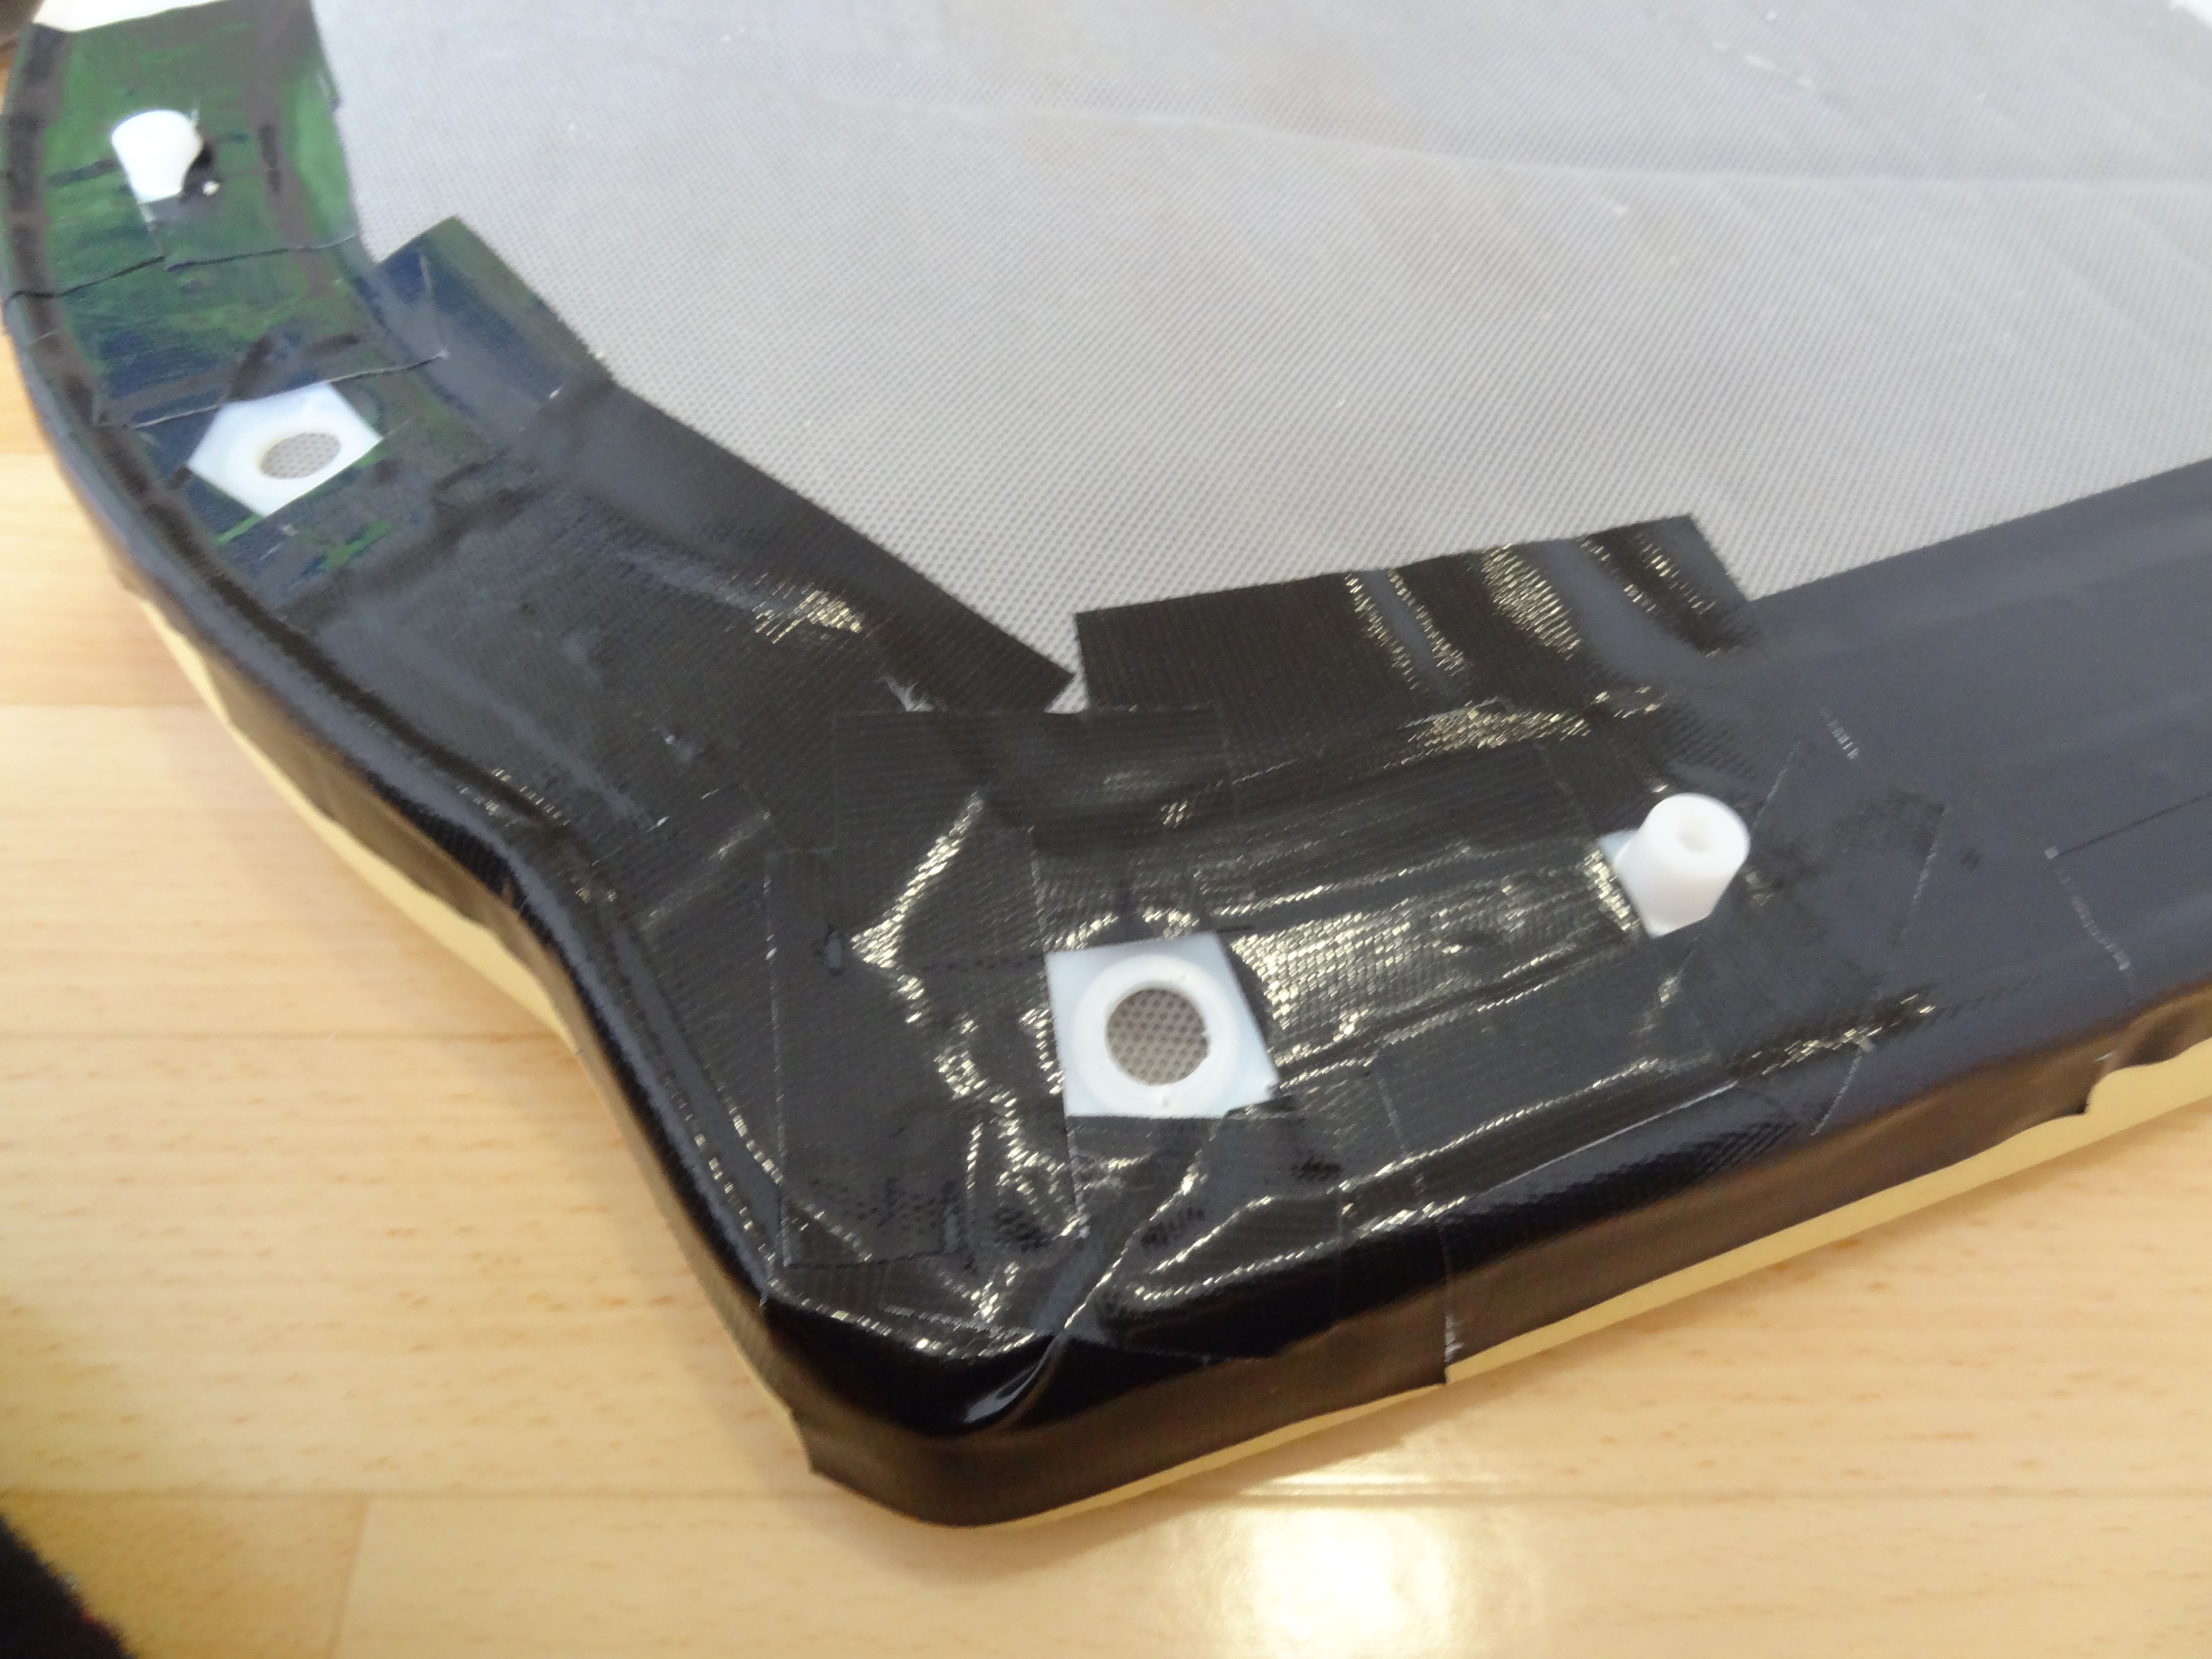
Leave the screw holes without tape if you want to reattach the seat to your chair. ;)
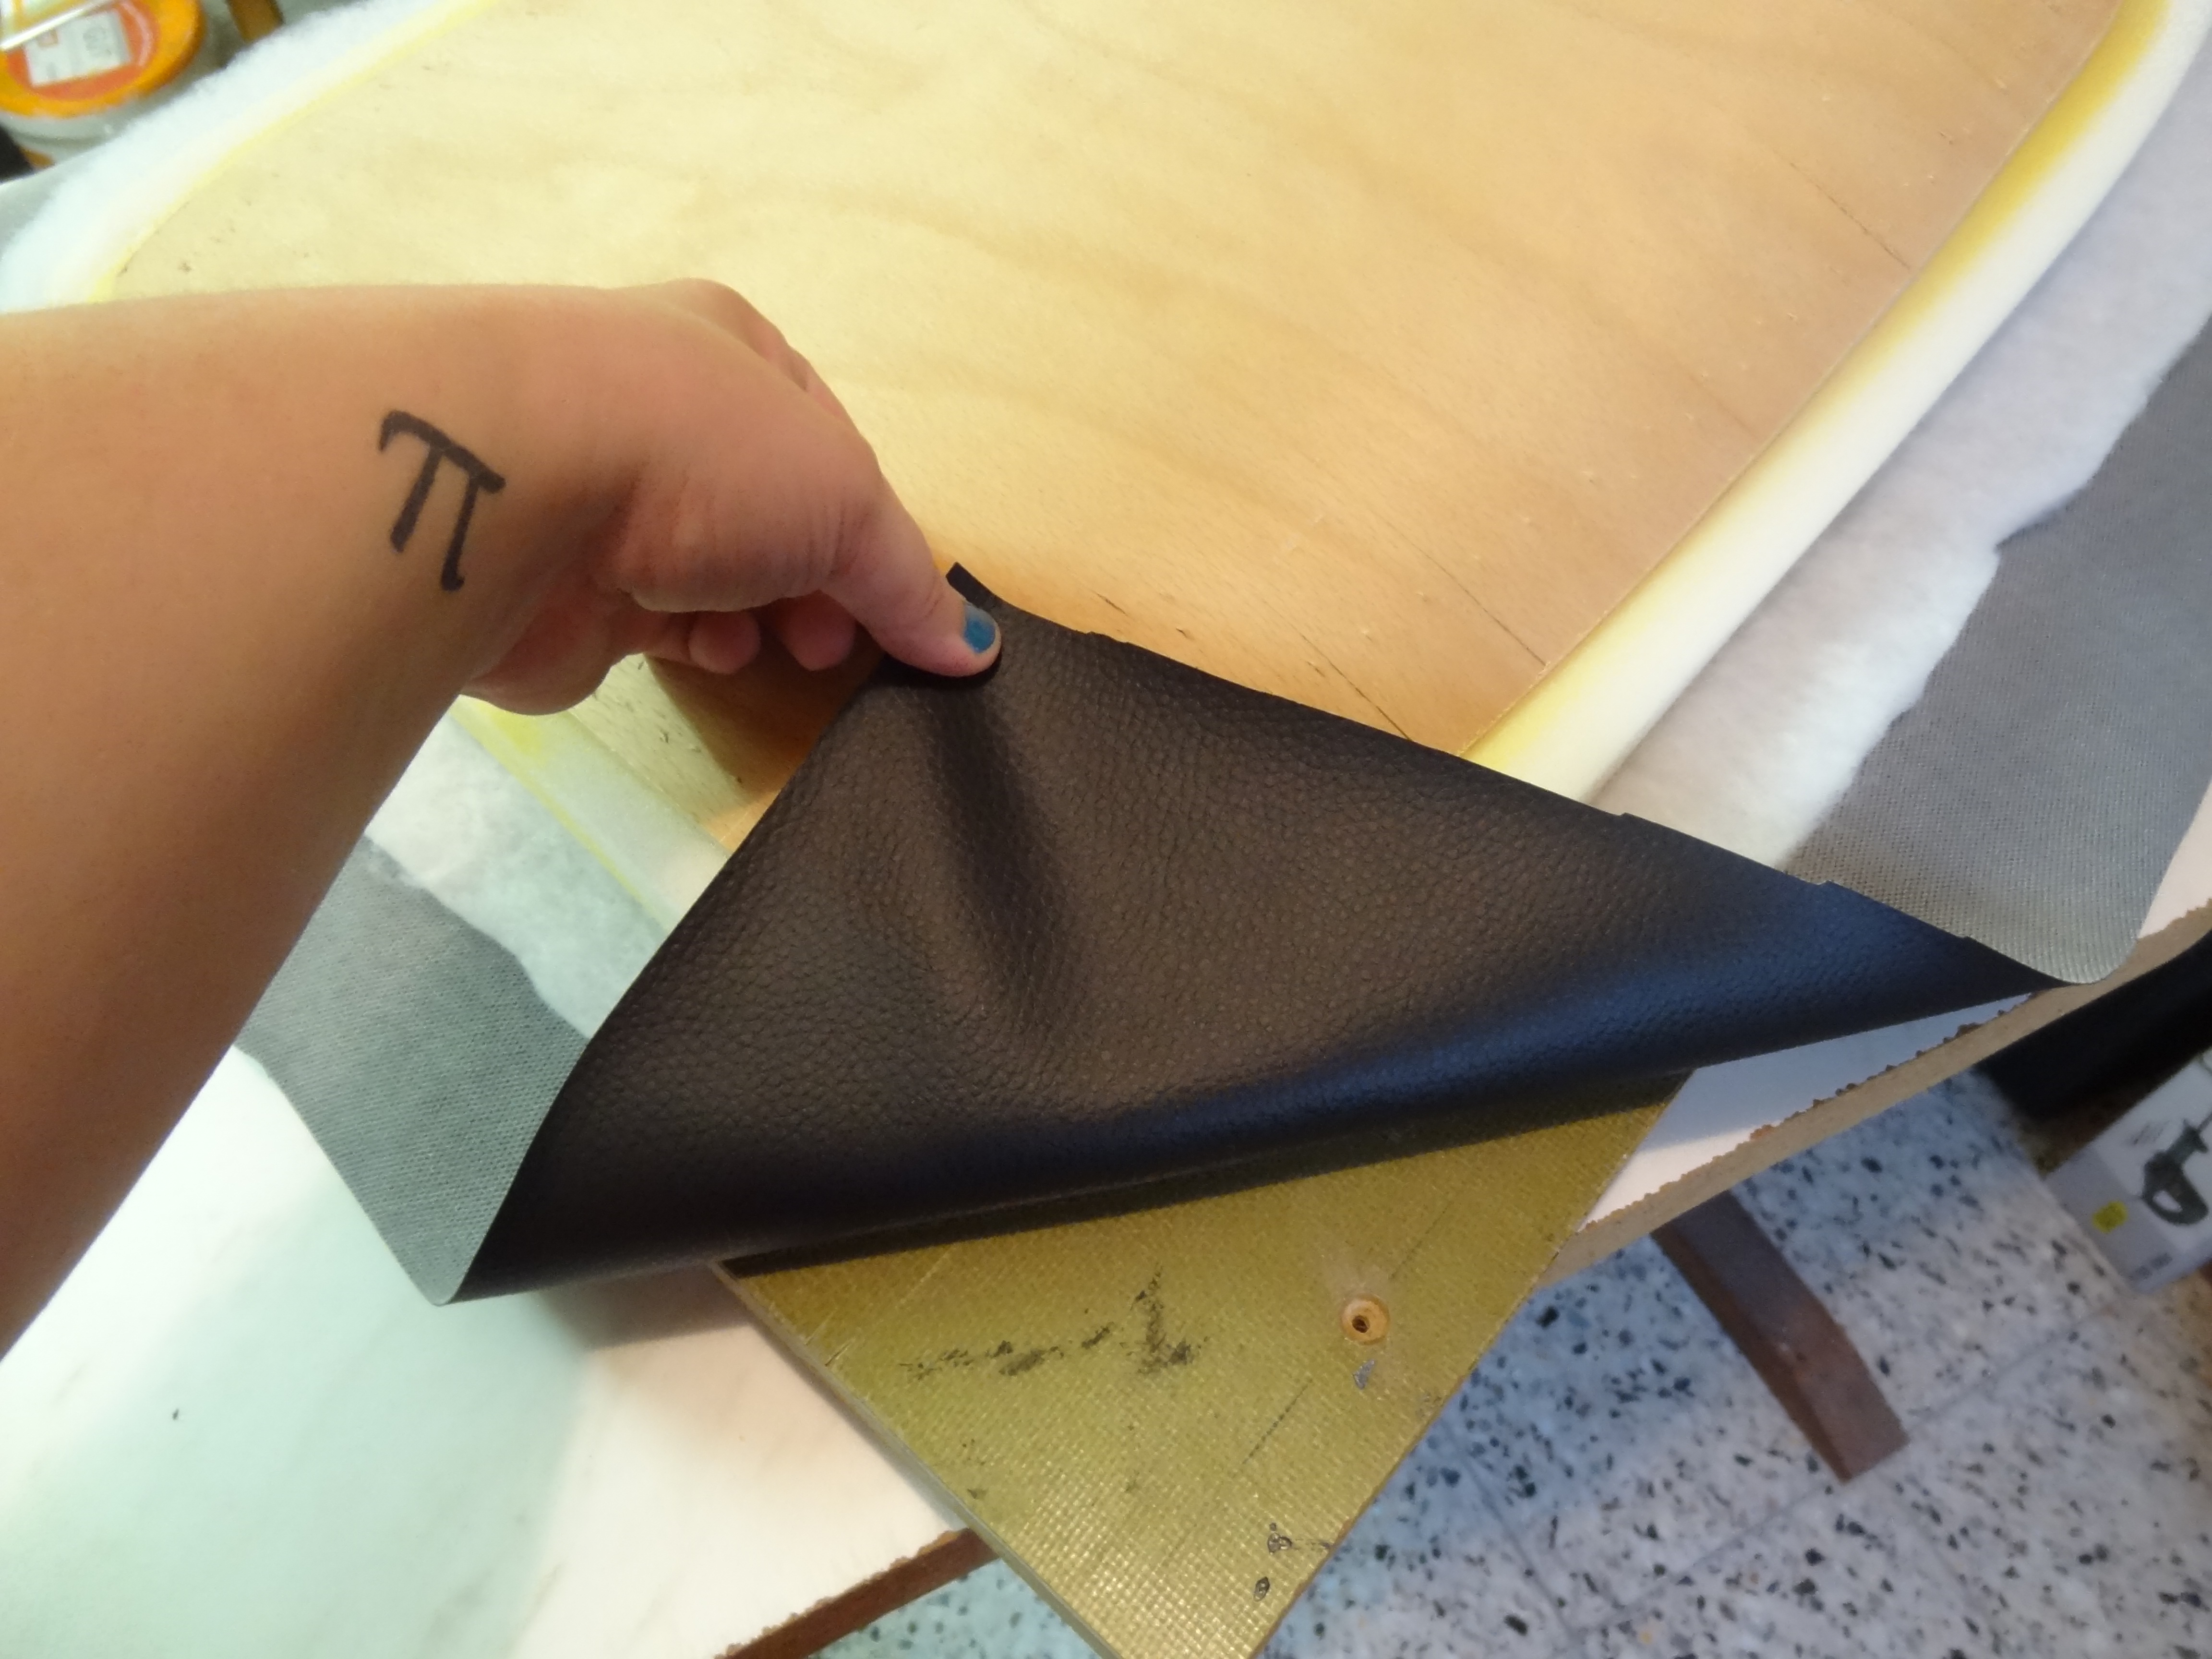
Putting Humpty Dumpty back together again
Now it’s time to reassemble the seats and back rests. Start by cutting the wadding to fit each seat and then gluing the cushions to the plywood (if it’s come loose) and the wadding to the cushions, using spray adhesive.
Then put the whole thing face-down on your fabric.
I totally forgot to photograph that part. So I’ll just share a video with you that helped me staple. :)
http://www.youtube.com/watch?v=b_fpwb6you0
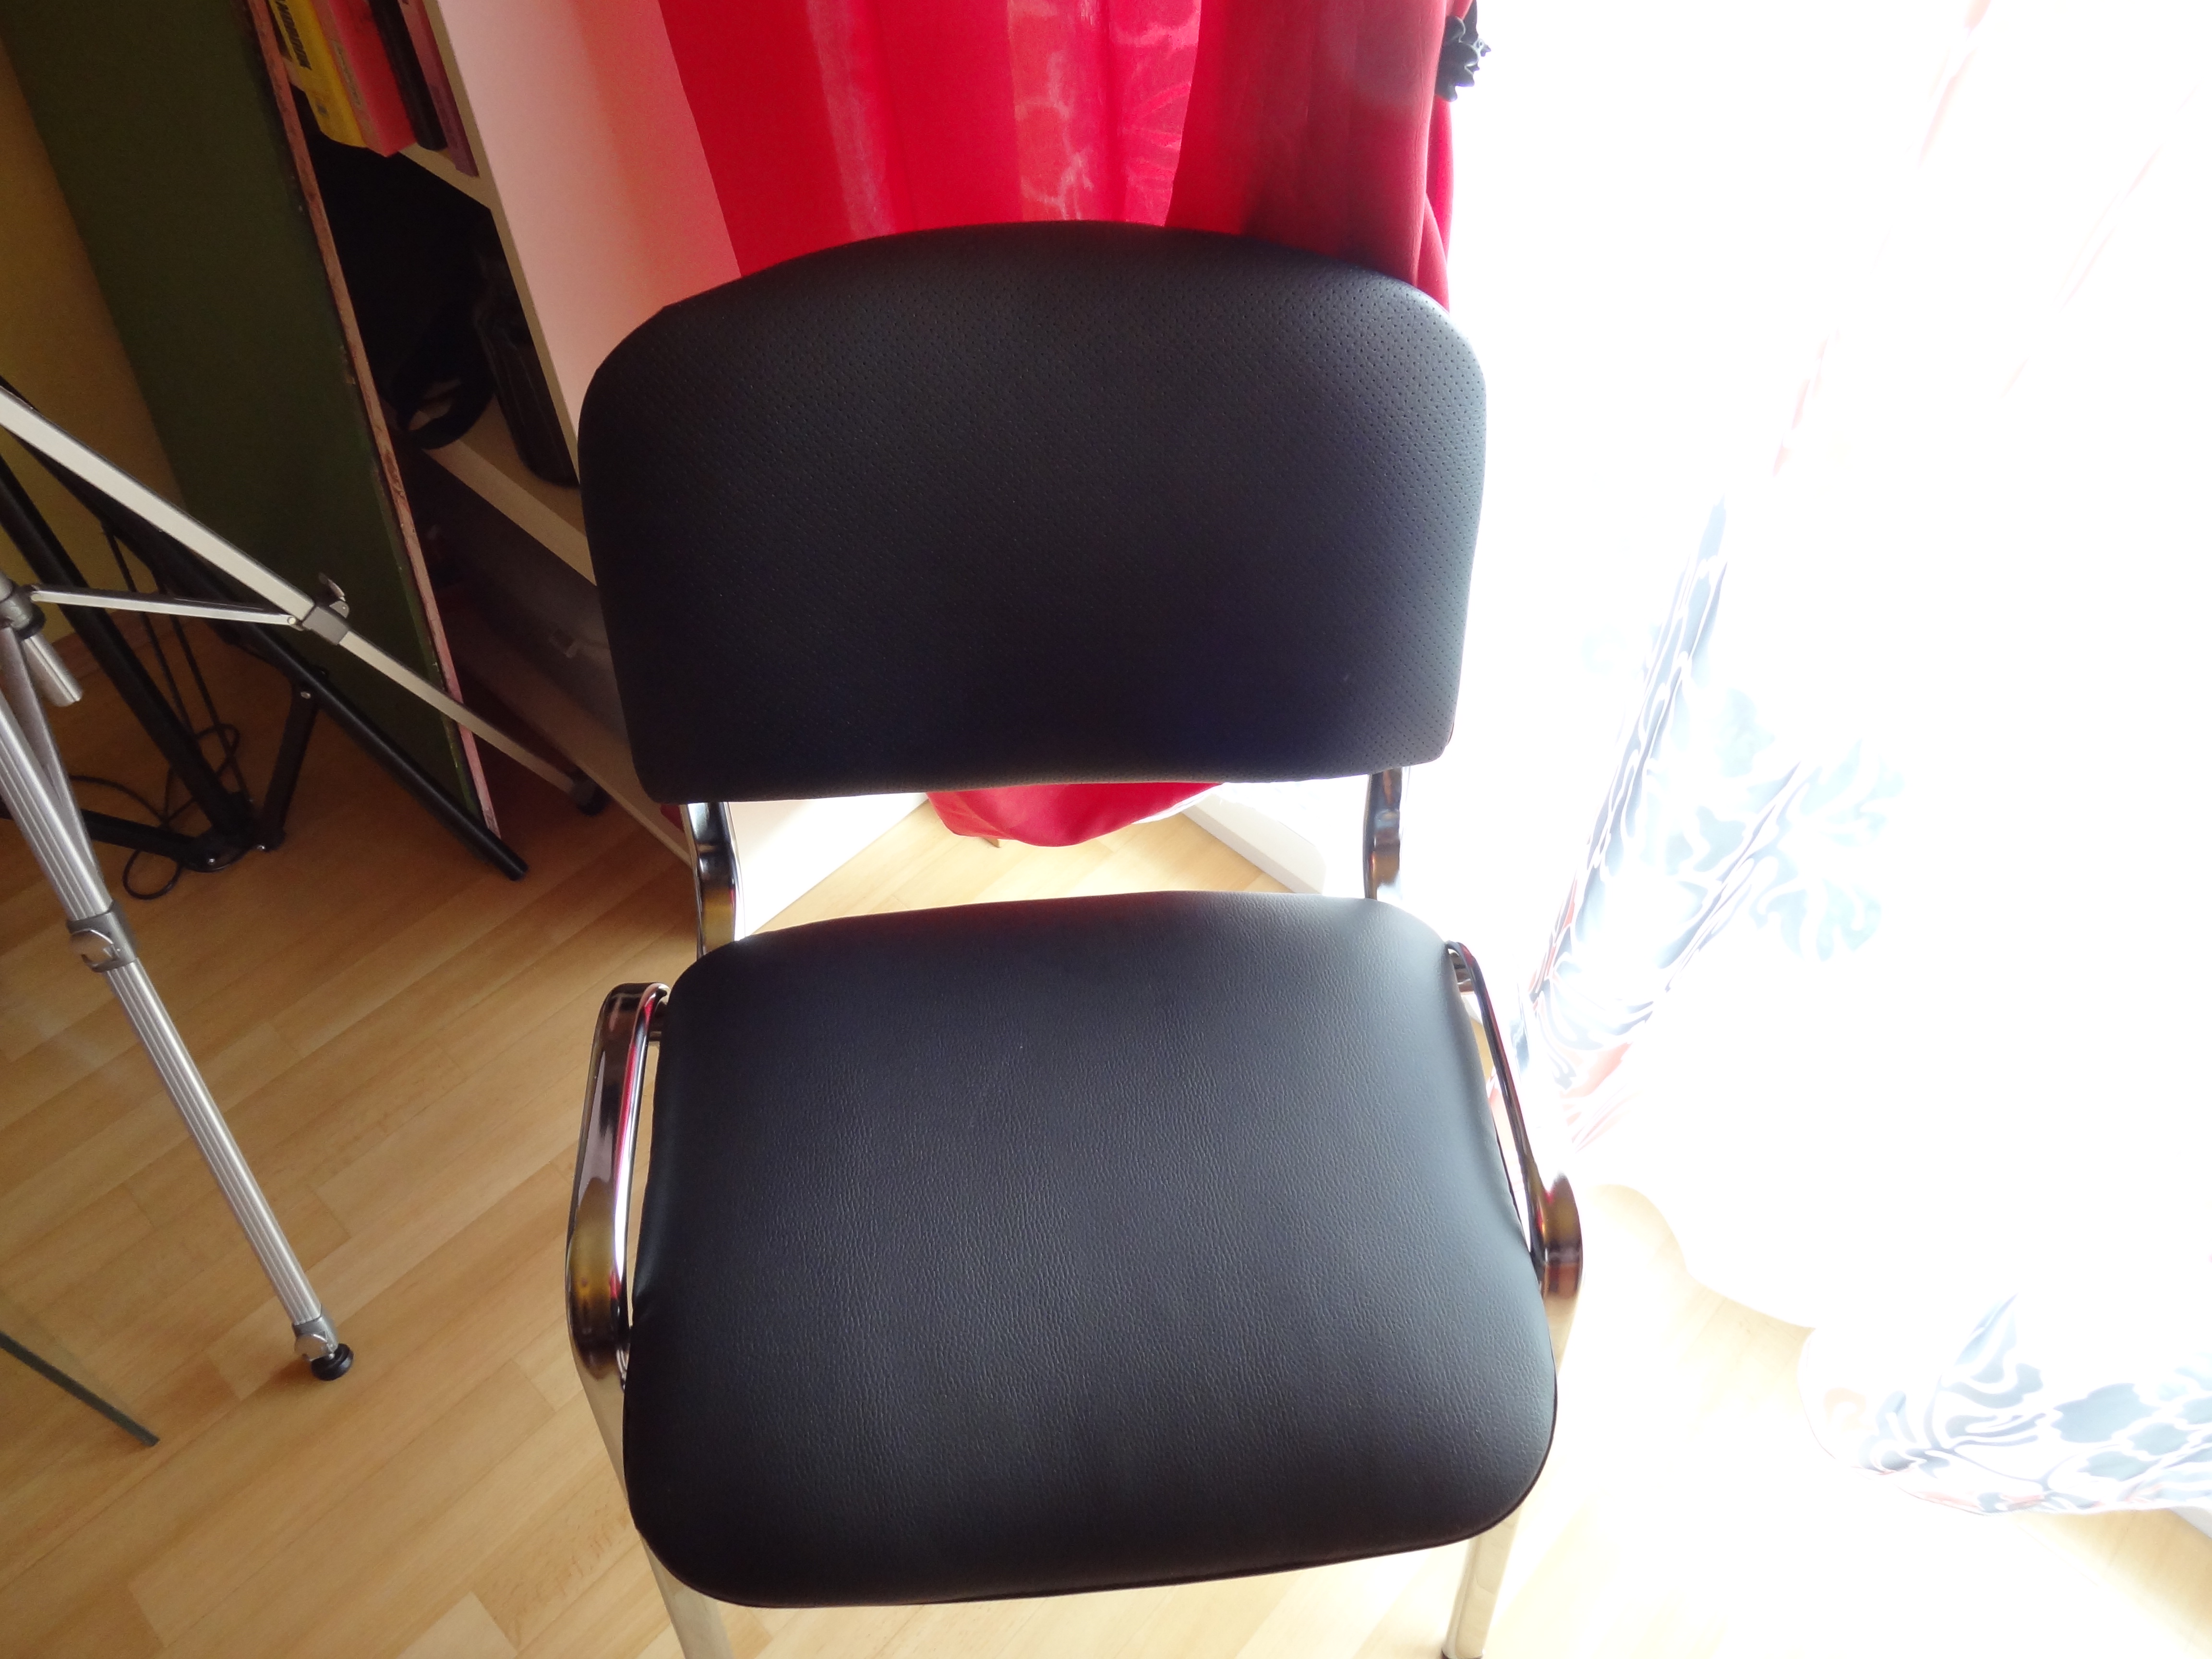
Finished!
Aren’t they awesome? And completely comfy again!